
Infrared photo processing on android, using Imagetoolbox
With all of the options & filters available on Imagetoolbox it seemed that it should be possible to process infrared photos (taken through a 720nm filter, ideally as RAW files (digital negatives)).
Step 1 is to take the photos, I'm not going to labour that process here, just go for low ISO & low shutter speed if you can.
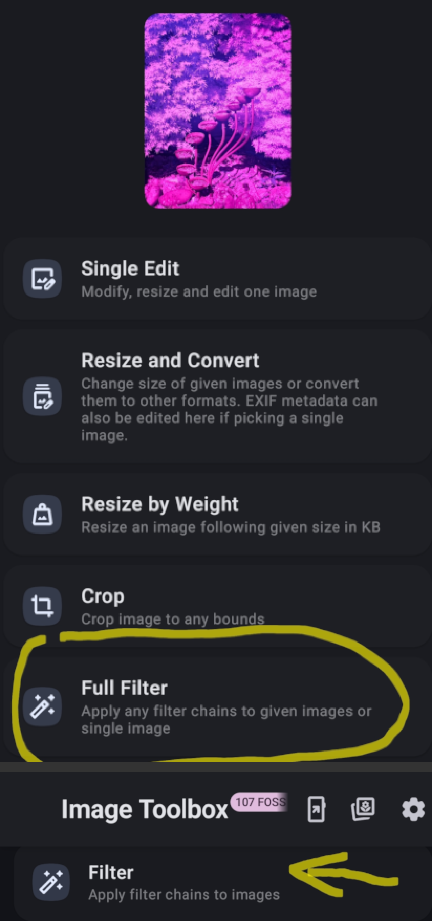
Step 2 is to open the photo file in imagetoolbox, either by sharing it from your gallery app or opening it from imagetoolbox itself.
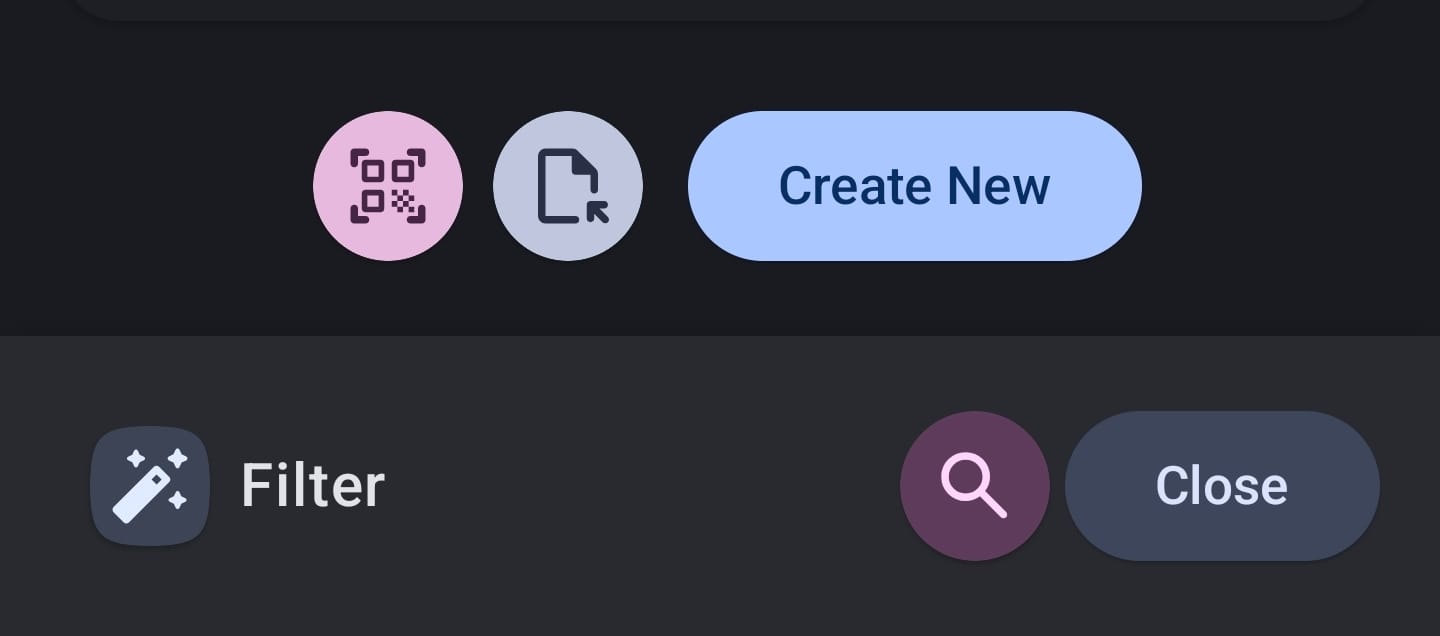
Choose "Full filter" if you are sharing from the galley app, or tap the "create" tab & choose the "filter" option if you are starting from the app itself.
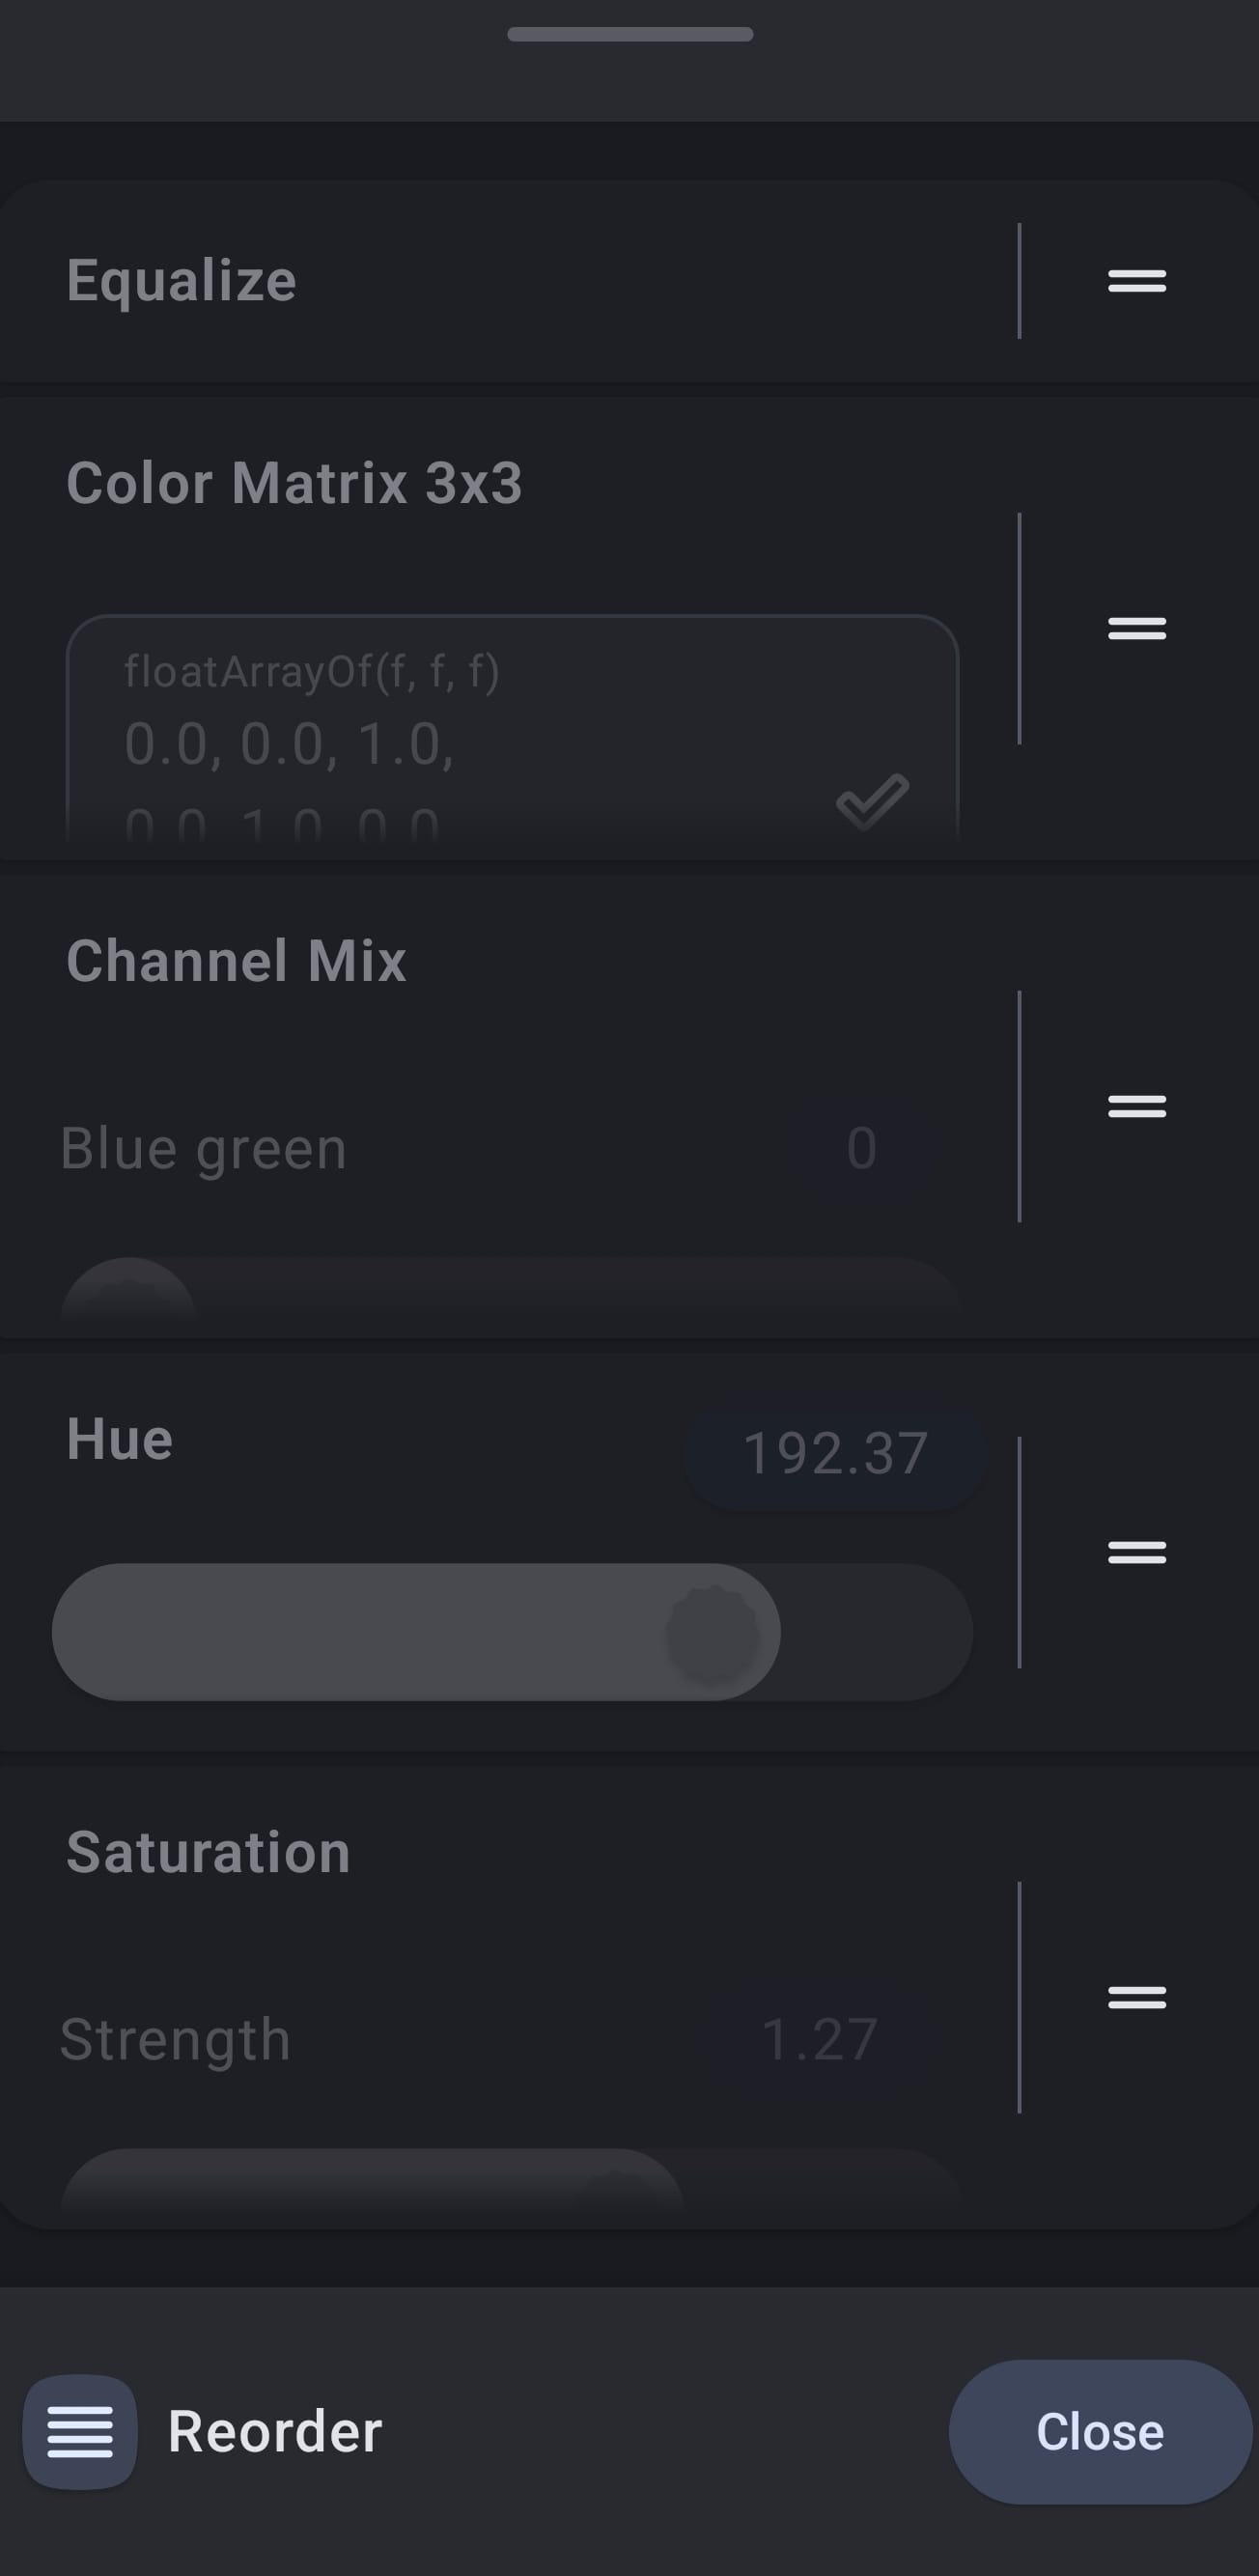
Then tap the filter button underneath the image preview, & scroll the top tabs so that you can get to the left one, named templates.
This is where your keep the sets of filters (or presets for single filters). If you go to the bottom of this screen you'll find the options for importing presets.
Hit the grey circle icon to load a file, then pick one of these (after you've downloaded it to your phone).
If you pick an available template then all of the filters & their settings are added to the list of active filters. (So if you go back & pick a second template then you get all of the filters from both!)
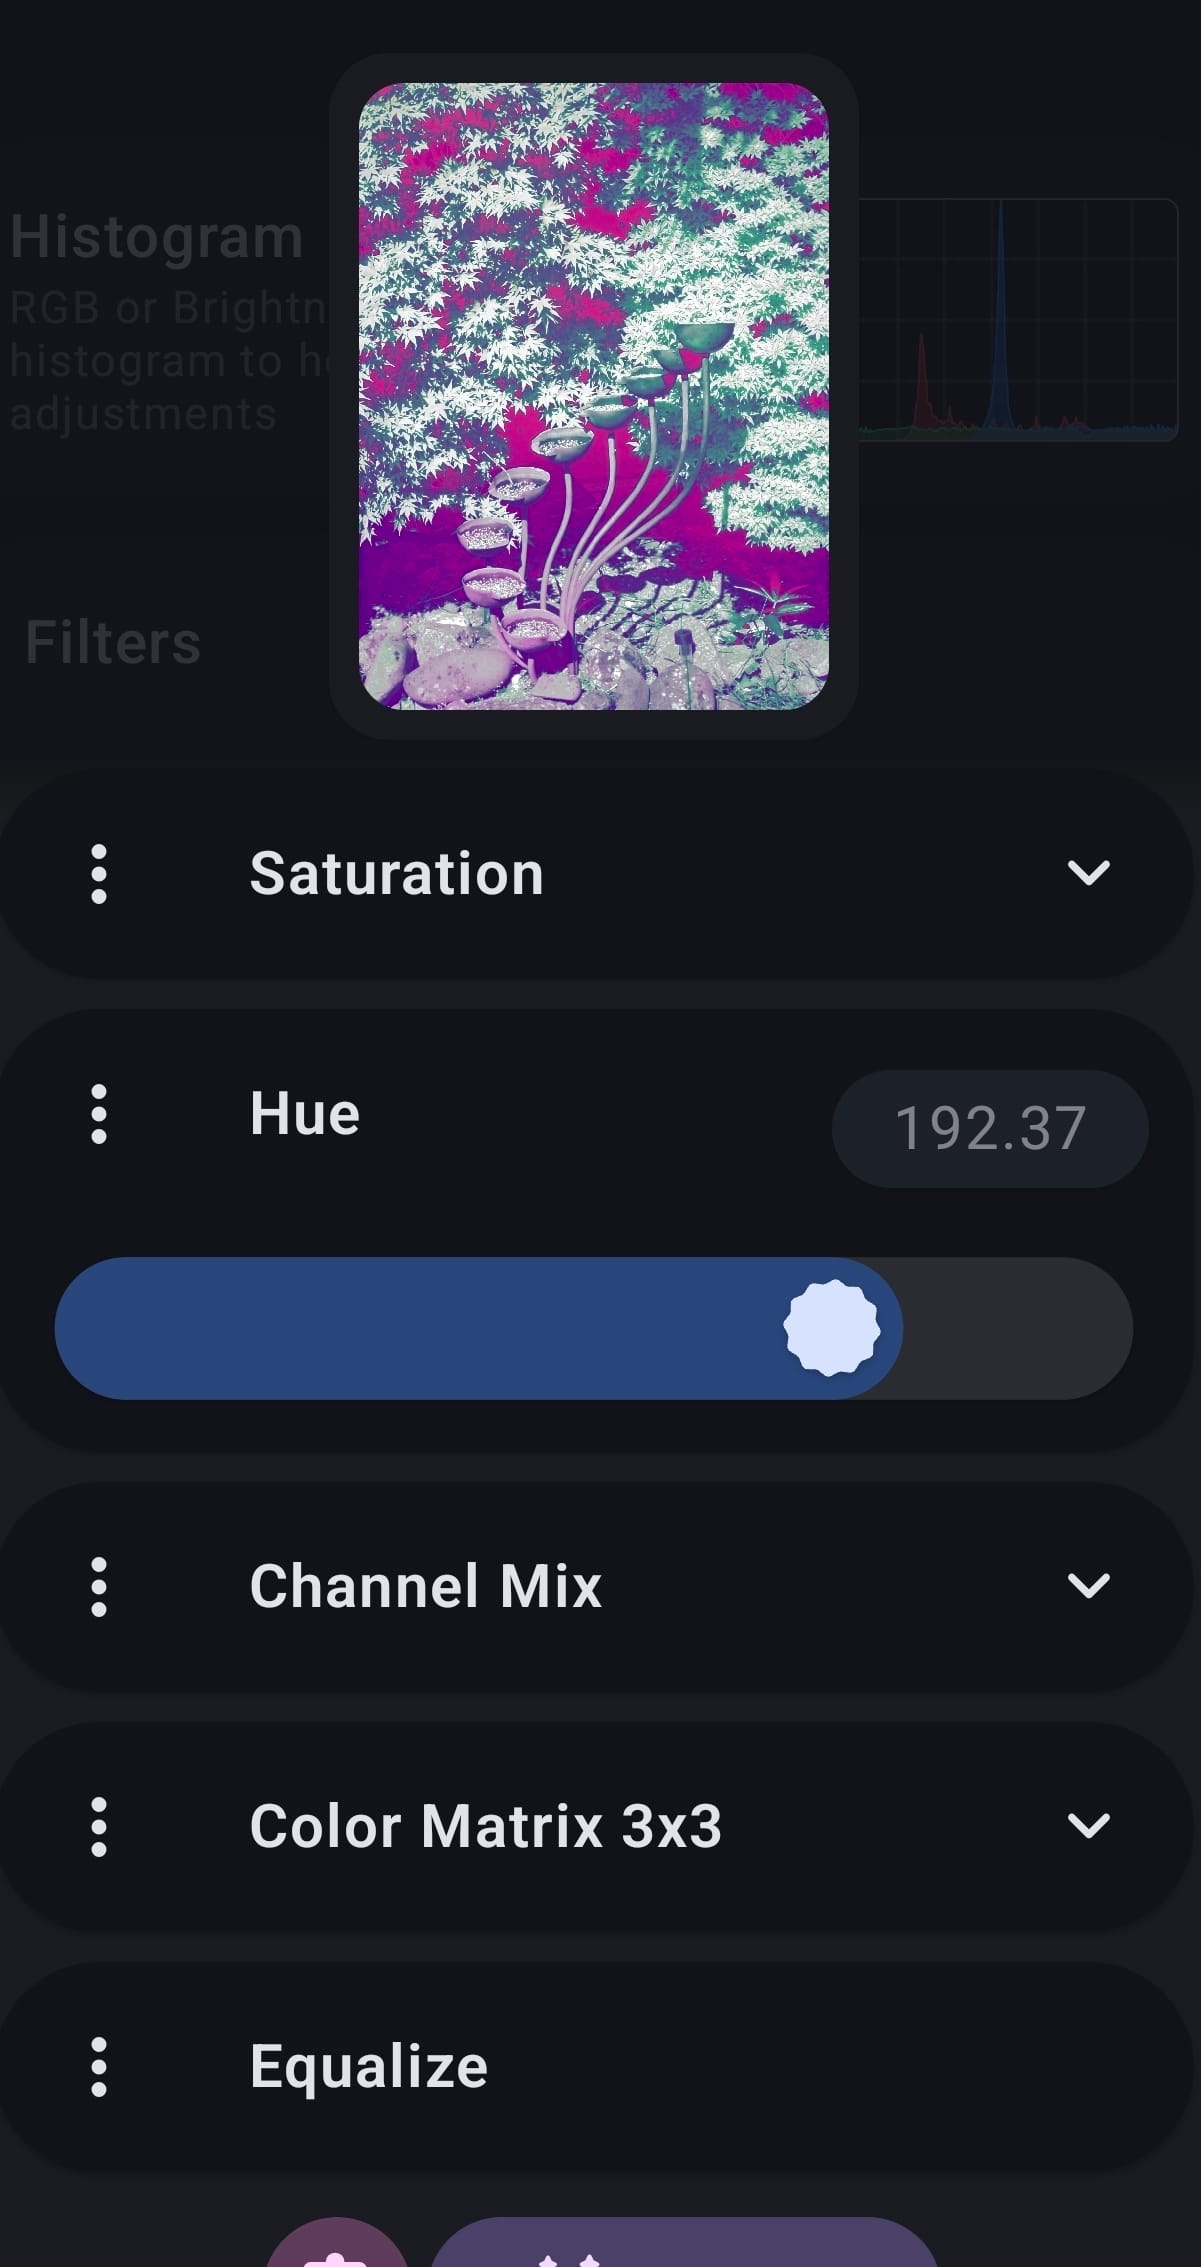
The next image is from one template, applied to the pink looking IR image that you can see in the screenshot above. I've collapsed the filters so that you can see them all.
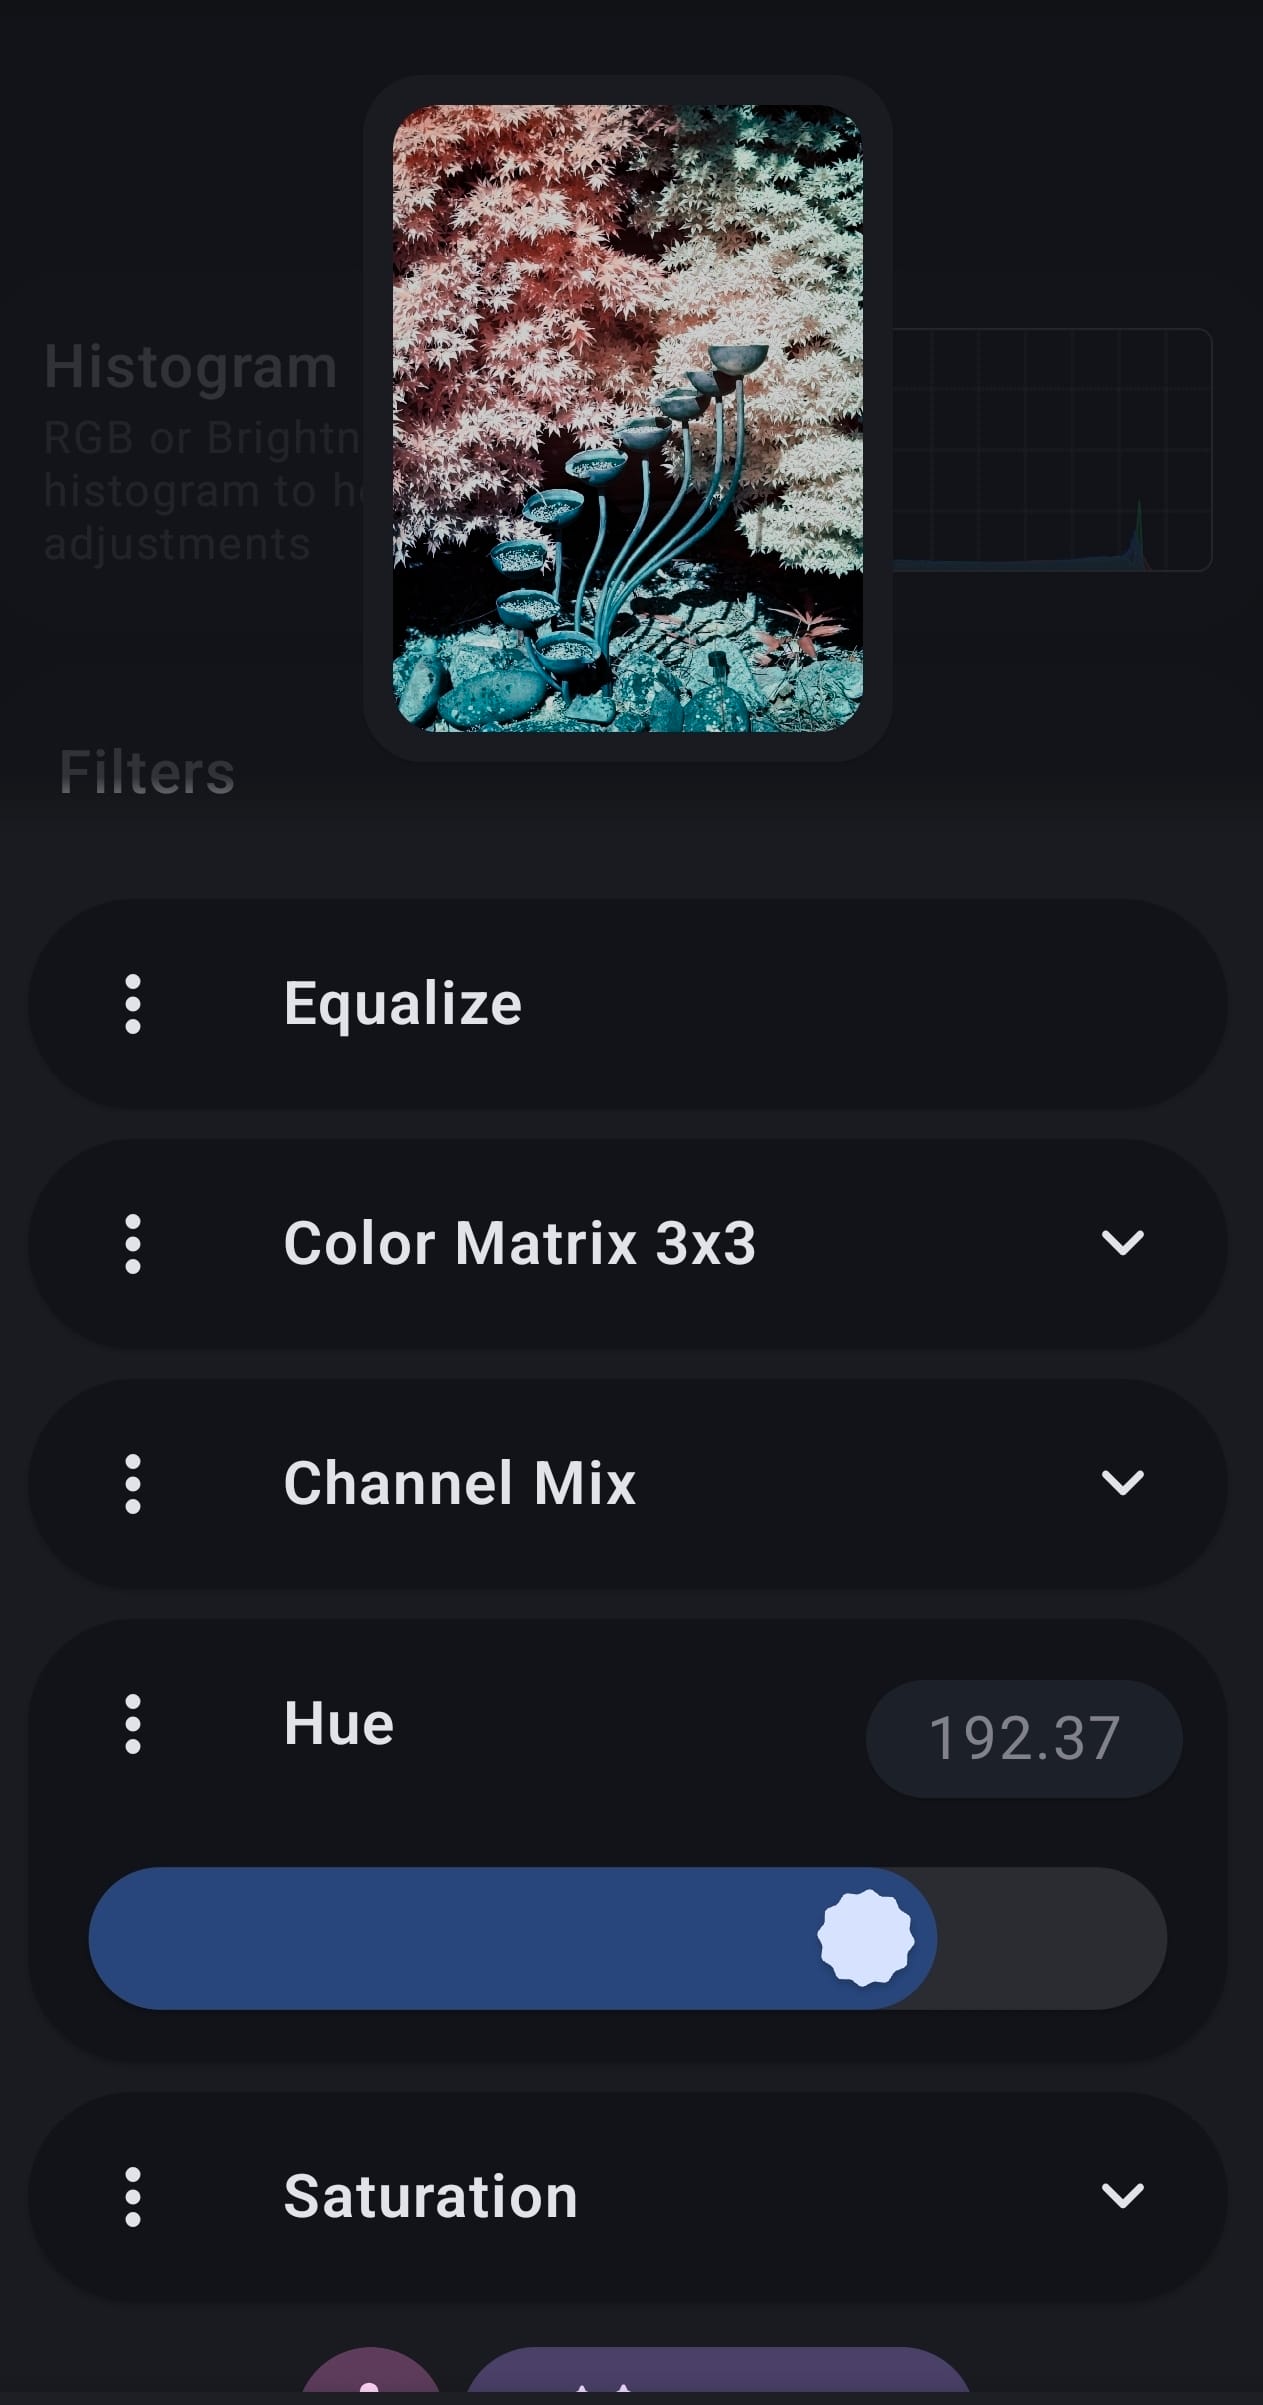
If it all looks good after loading the template then you can just save the file. Otherwise you might want to either change the settings for the filter(s) or to change the order that they are applied in. For most of the filters the best way to find what you want is to experiment & see what happens. There are some that have no settings, & some that are a little less "poke it & see". The color matrix is one of these. The numbers on each row are the amount if each of the channels (Red, Green, Blue) that contributes to the intensity of the row (with the rows being Red, Green & Blue). You can have a total of more than 1, & can use negative values if you want.
To change the order that the filters are applied in: long press on the title of one of the filters. You'll bring up a reorder screen where you can press the = besidea filter & drag it up/down the list.
This is what happens if you reverse the filter order, without changing the settings for the filters.
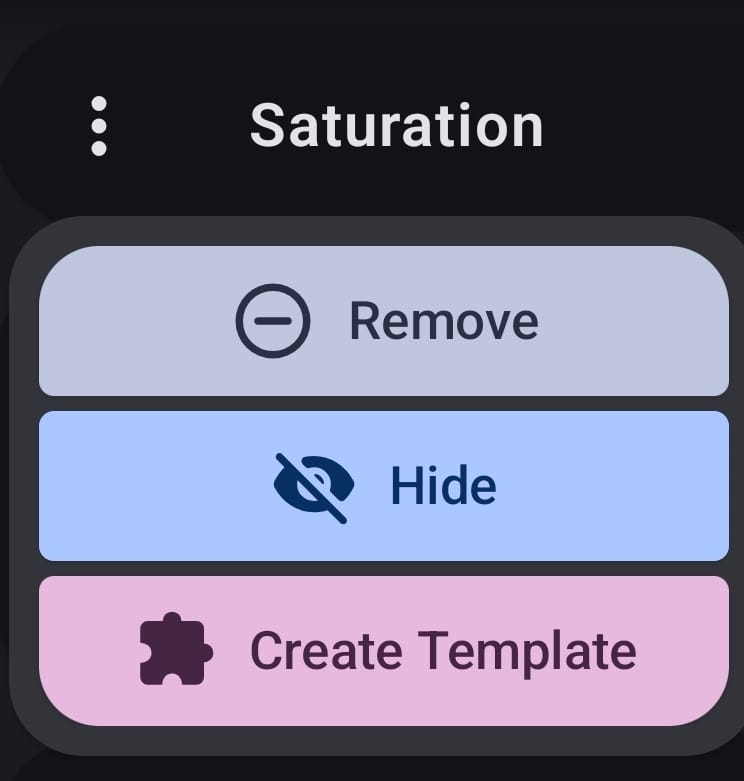
You'll probably find a template or two where there are multiple duplicate/similar filters, or there will be occasions where you want to try turning off a filter, or removing it from that photo. Press the 3 dot menu for the filter, then either hide/show or delete it, as you see fit.
You can add other filters if you want, & save your best ones as templates. You can also save presets for things like the color matrix & then pick the version that you need - & build a filter set from those presets without needing a full template for each version.
The filters in the infrared templates are a white balance adjustment (equalise, or one of us variations), then the channel swap that gives the false colour (color matrix) followed by tweaking the color channels, rotating the colours using Hue & then boosting the saturation. Sometimes it's useful to use the deuteranopia filter (or similar) to pick out the colours of interest.
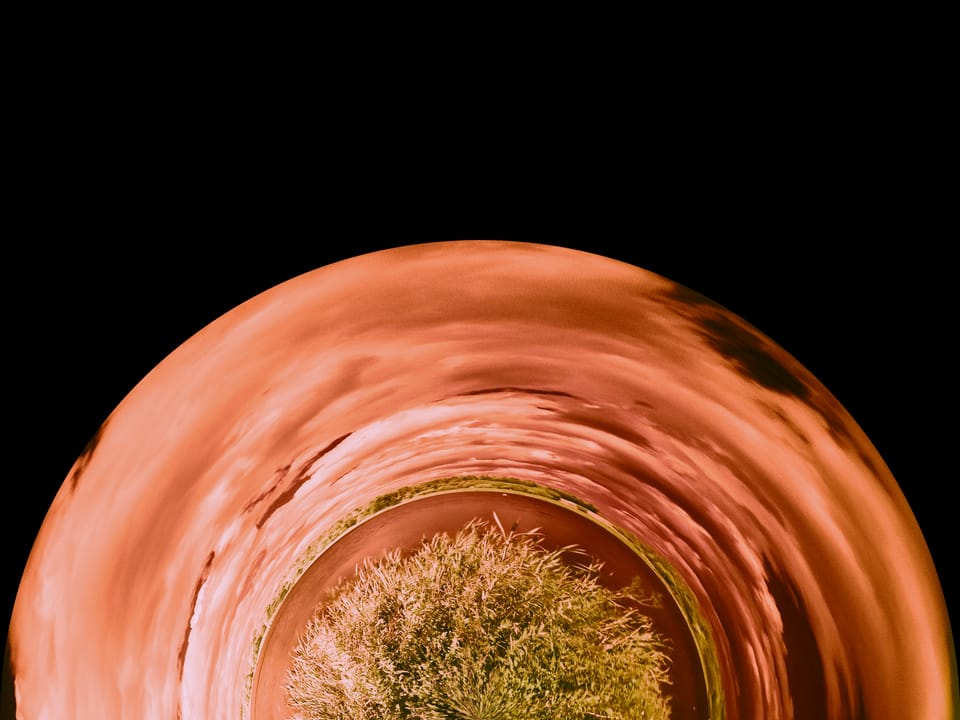
One last thing, the header image uses the "arc" filter too. There are a lot more things that you can do with imagetoolbox...