Photo processing Software settings
The actual work of processing the RAW photo (taken with an IR filter) is done by dcraw & imagemagick (with some data manipulation using exiftool). There's actually no reason that the RAW file has to be IR, so the scripts that come later will enable "normal" RAW files to be processed using appropriate settings. Which we will need to set up!
dcraw
We're actually going to use dcraw to pipe the decoded RAW file to imagemagick, without anything special added if the RAW file is a "normal" photo. With infrared photos it's practically impossible to get the white balance to match what's needed. You can do your best by setting the colour temperature as low as possible. You can also try to find suitable values for correcting the white balance by taking a photo of a well illuminated white/grey card while using the IR filter.
I found a good set of hints on this website, which also gave me a good starting point for the correct ratios of red, green & blue to go with my IR photos.0.507 1.000 2.4492 1.000
Which are the values at the bottom of the article. There's a little more tweaking to do, but it'll do for now.
Imagemagick
Imagemagick is a kind of command line photoshop. It does clever things to images, but you only get to tell it the instructions & then you get the result as a processed image. No WYSIWYG!
There are a couple of things that infrared photos need, especially if you are going to want false colour images instead of black & white. The colour channels need swapping to give you the colours & the hue + saturation need boosting to bring those colours out.
I've treated the two parts of this process as individual sections in the settings, but there's no reason that you couldn't have them as a single setting that controls two different things.
Hue & Saturation
-modulate brightness[,saturation,hue]
Vary the brightness, saturation, and hue of an image.
For a fake aerochrome look I've used a 50% increase in saturation & a 60 degree "anticlockwise" change in the hue.-modulate 100,150,-60
Channel swap
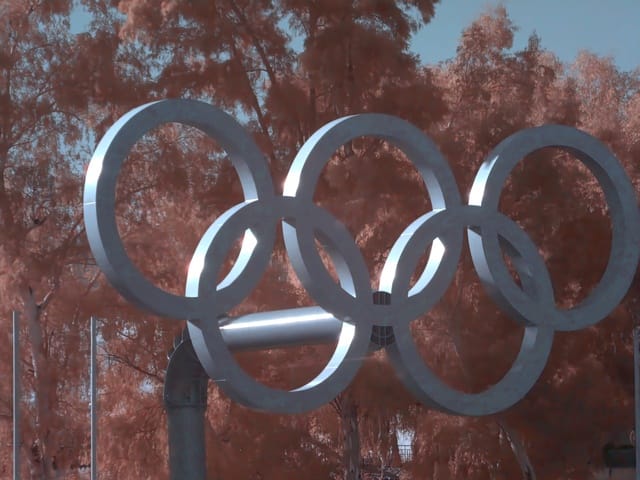
As you saw in the unprocessed picture in the previous page, the IR filter produces very red images. Swapping the red & blue channels is a typical way to bring some (false) colour back into the image. There are many "recipes" for doing this, with many recommendations being a straight swap between the red & blue channels.
-color-matrix matrix
Apply color correction to the image.
A straight swap would be -color-matrix "0,0,1,0,1,0,1,0,0" which means 'for the channels Red, Green, Blue, set the new values to (100%) Blue, Green, Red.
i.e. Red goes from 1,0,0 to 0,0,1
There are other versions of this & I preferred -color-matrix "0,0,1,0,1,0,1,1,-1" which adds the red & green channels & subtracts the blue channel in order to get the new value for the blue channel.
Note that the command line version here needs the "" in order to pass the matrix to imagemagick. In the settings this is not needed. (Technically, the matrix is automatically passed as a bash "word" already, so doesn't need the "" to tell the processor not to break up matric into bits)
What's next?
The next section deals with setting up a script to use the options from the settings to process a RAW infrared file & produce a jpeg that can be refined using a WYSIWYG photo editor. If you're impatient then you could open termux & do it directly.
You'll need to change the bold type bits (at least) to fit your actual photo locations, which will be something like /storage/emulated/0/DCIM/IR/input.dng for example.
Oh, & that stray - after magick is important. It means "read the image from the output of dcraw". dcraw uses the -c option to send its output to where imagemagick can read it, instead of to a file on disk.
dcraw -c -r 0.507 1.000 2.4492 1.000 -H 2 input.dng | magick - -modulate 100,150,-60 -color-matrix " 3x3: 0,0,1,0,1,0,1,1,-1" out.jpg
Of course, it would be a lot less typing if we could pick the photo, the options to use & the output file & then have all of the rest of that typing scripted for us. That's the next section.


