Using ExpertRAW and ImageToolbox for Infrared photos
This is more of a step by step description of the steps needed to get started than a guide for people who already have a head start. For starters you'll need to install ExpertRAW from the Samsung (Galaxy) app store & a copy of Imagetoolbox from the Play Store (or another FOSS location).
Annoyingly, Samsung has changed the ExpertRAW RAW format to using dng with jxl, which isn't supported by the dcraw processes that are described elsewhere on this site. Also annoyingly Snapseed doesn't support using CLUT/cube files to change photos (these are Colour LookUp Tables, which map each colour in a photo another (specific) colour, changing the appearance in a pre-specified fashion)
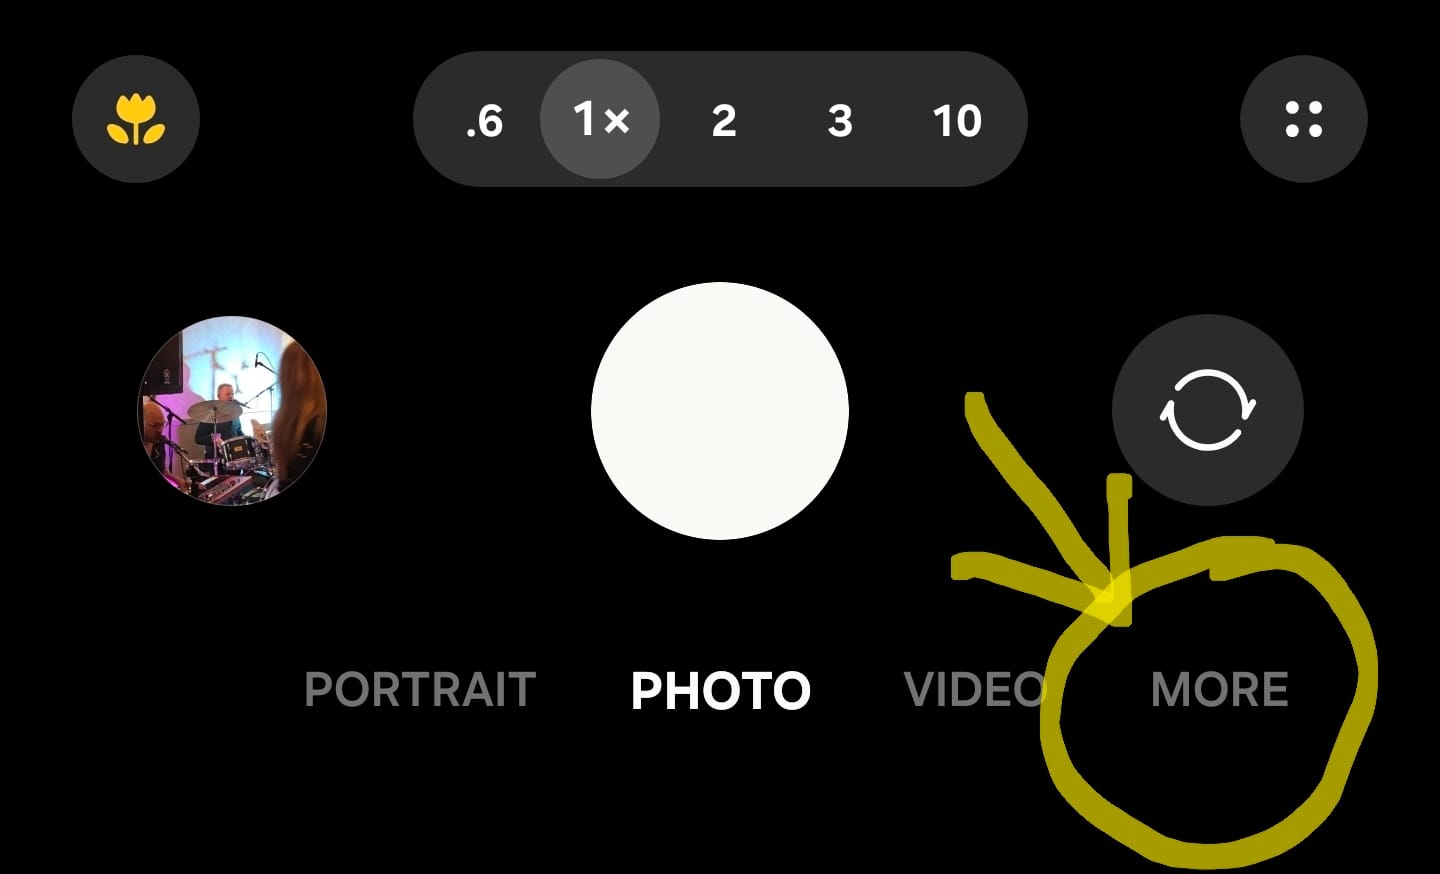
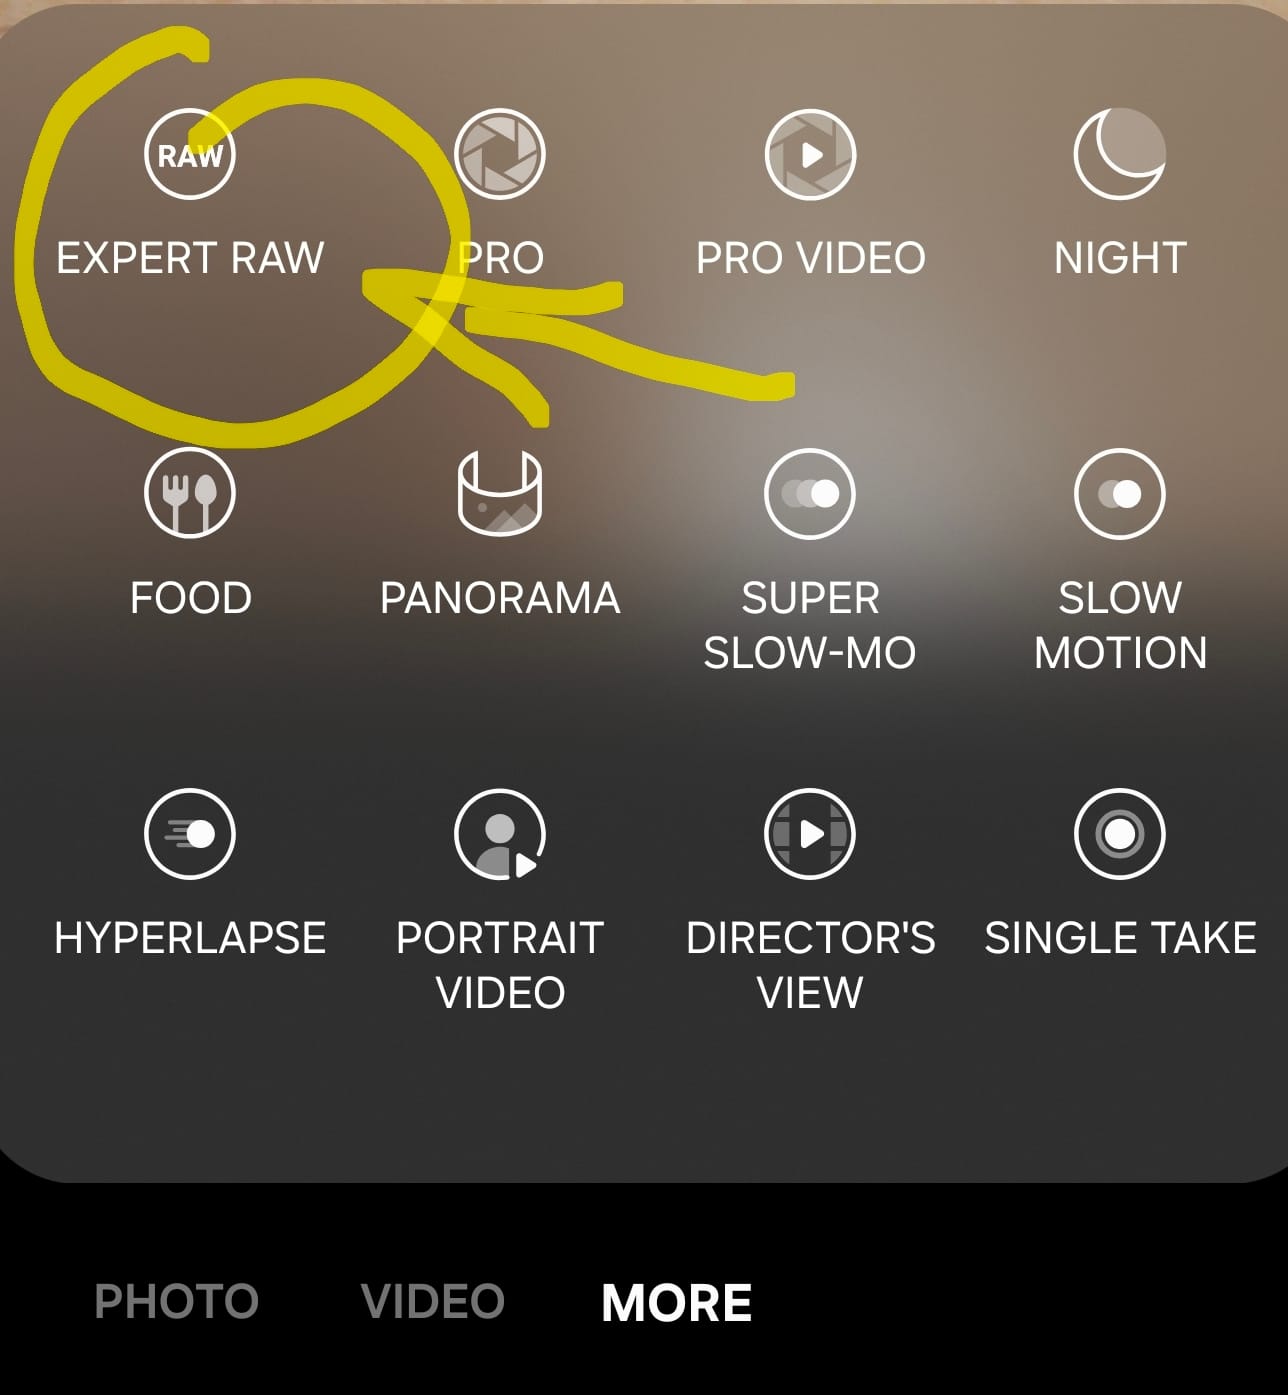
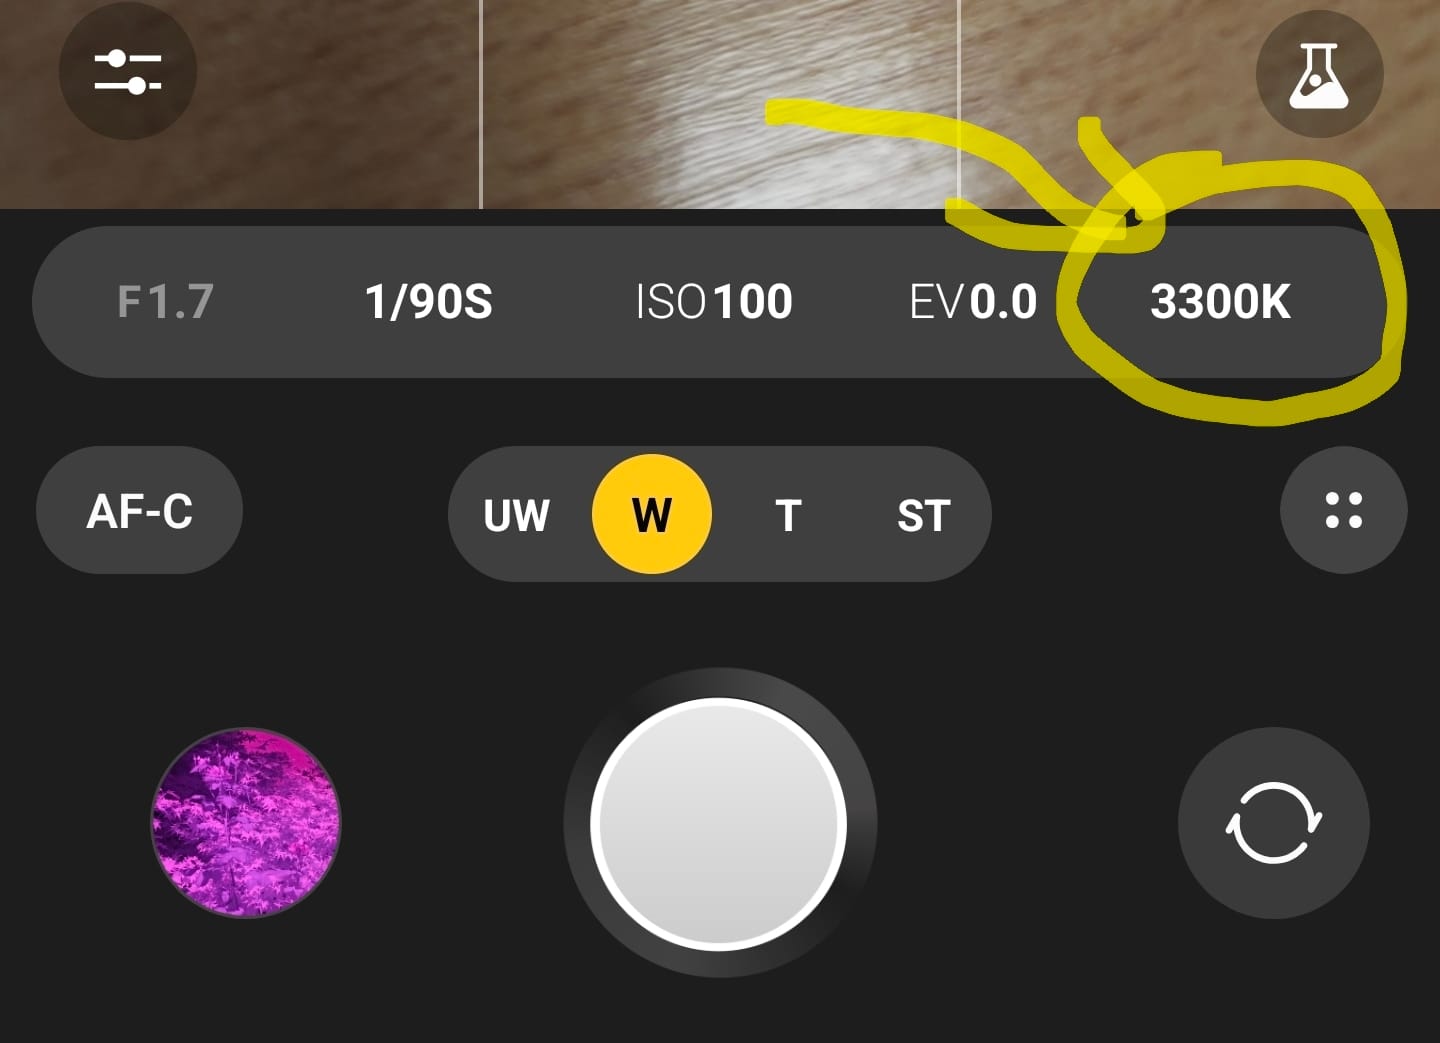
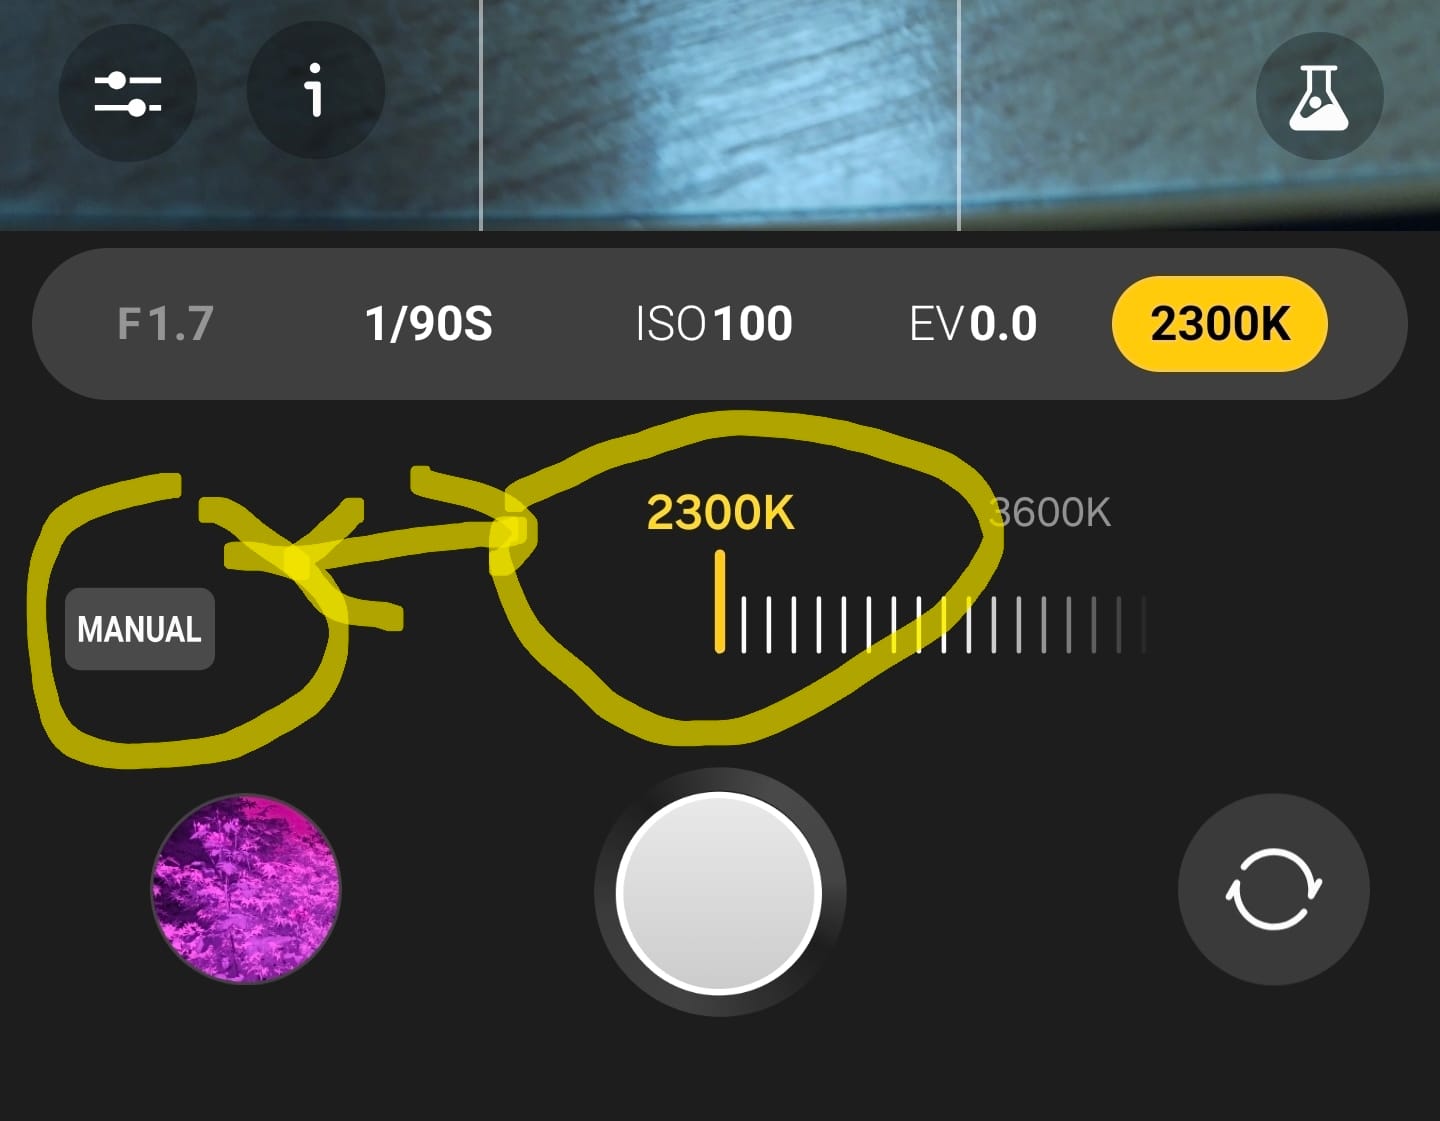
First off you'll need to open the ExpertRAW camera - start by opening the default Samsung camera app & tap the "More" menuThen choose ExpertRAW (it won't be there if you haven't installed it!)InfraRed uses a white balance closer to 1000, so you'll need to set this manually. This is the menu item that you'll need.Set the White balance to 2300 (the lowest that it'll go) as a manual setting
Now put the 720nm filter over the lens of the Samsung phone camera (pick the lens that you want to use & make sure that the image doesn't show the edges of the filter). Now take your photo(s). Try to keep the ISO low & use a shutter speed as low as you can - the filter cuts out a lot of light, but you want to keep the quality up/noise down if you can.
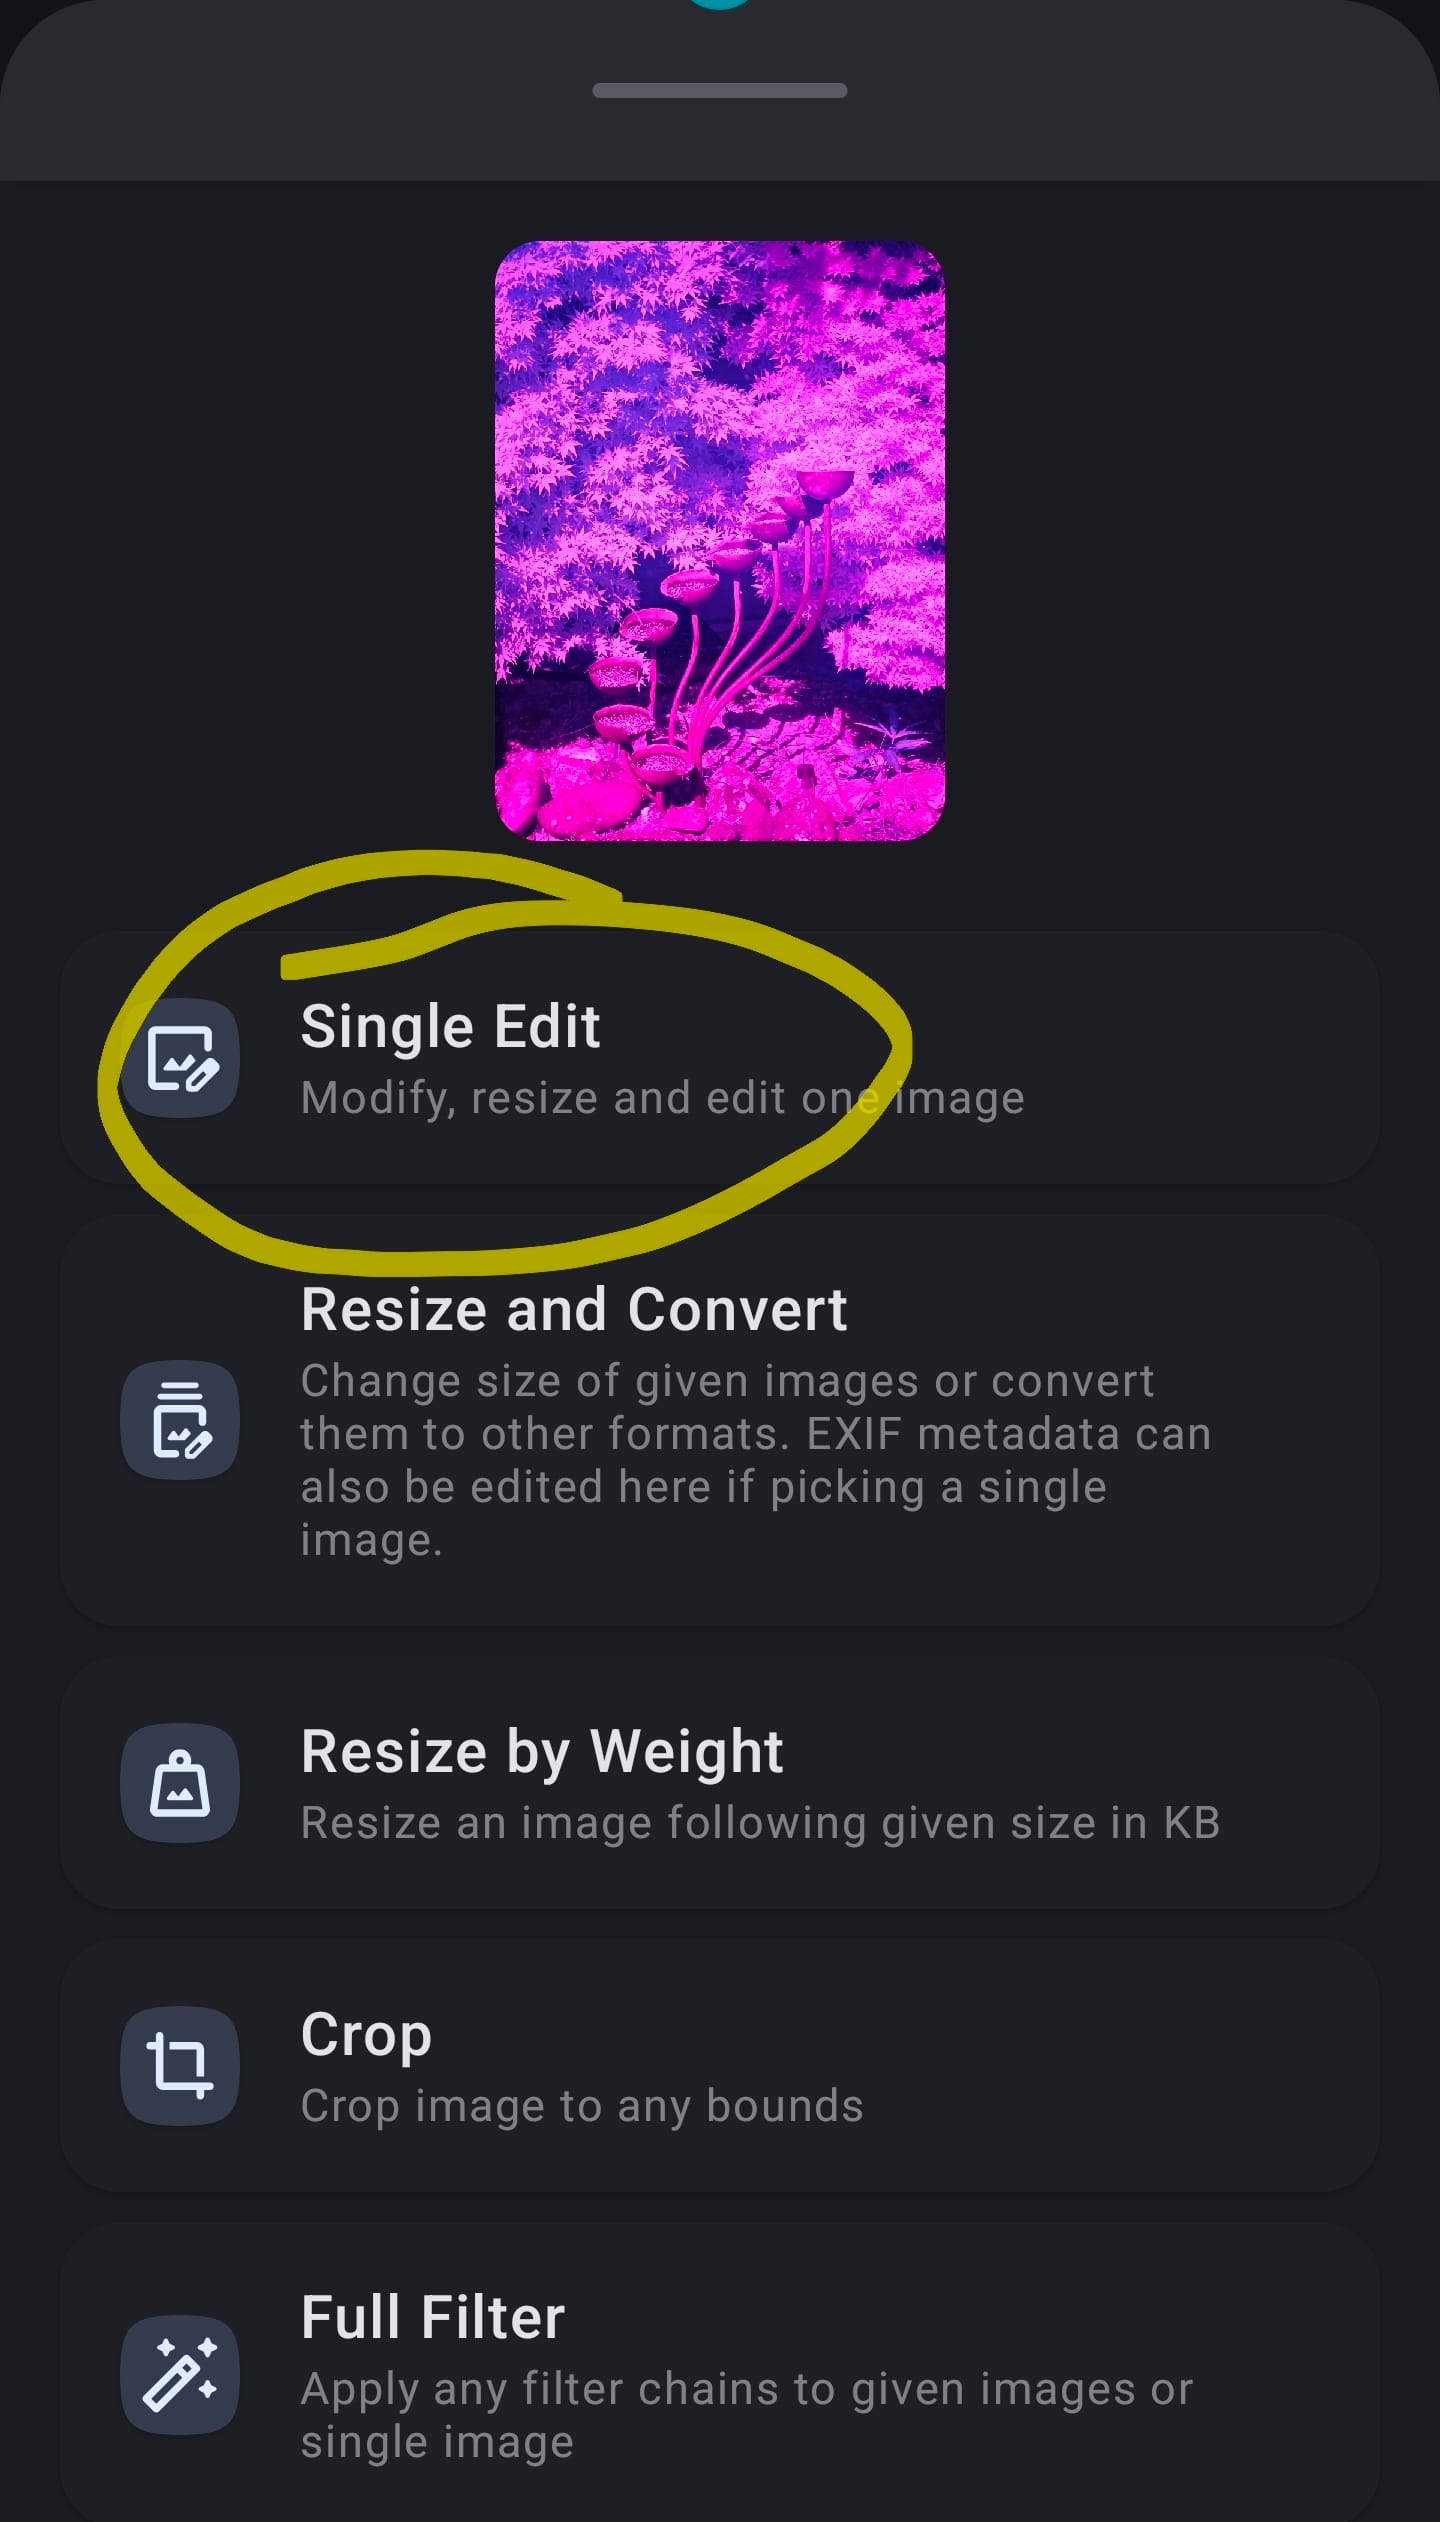
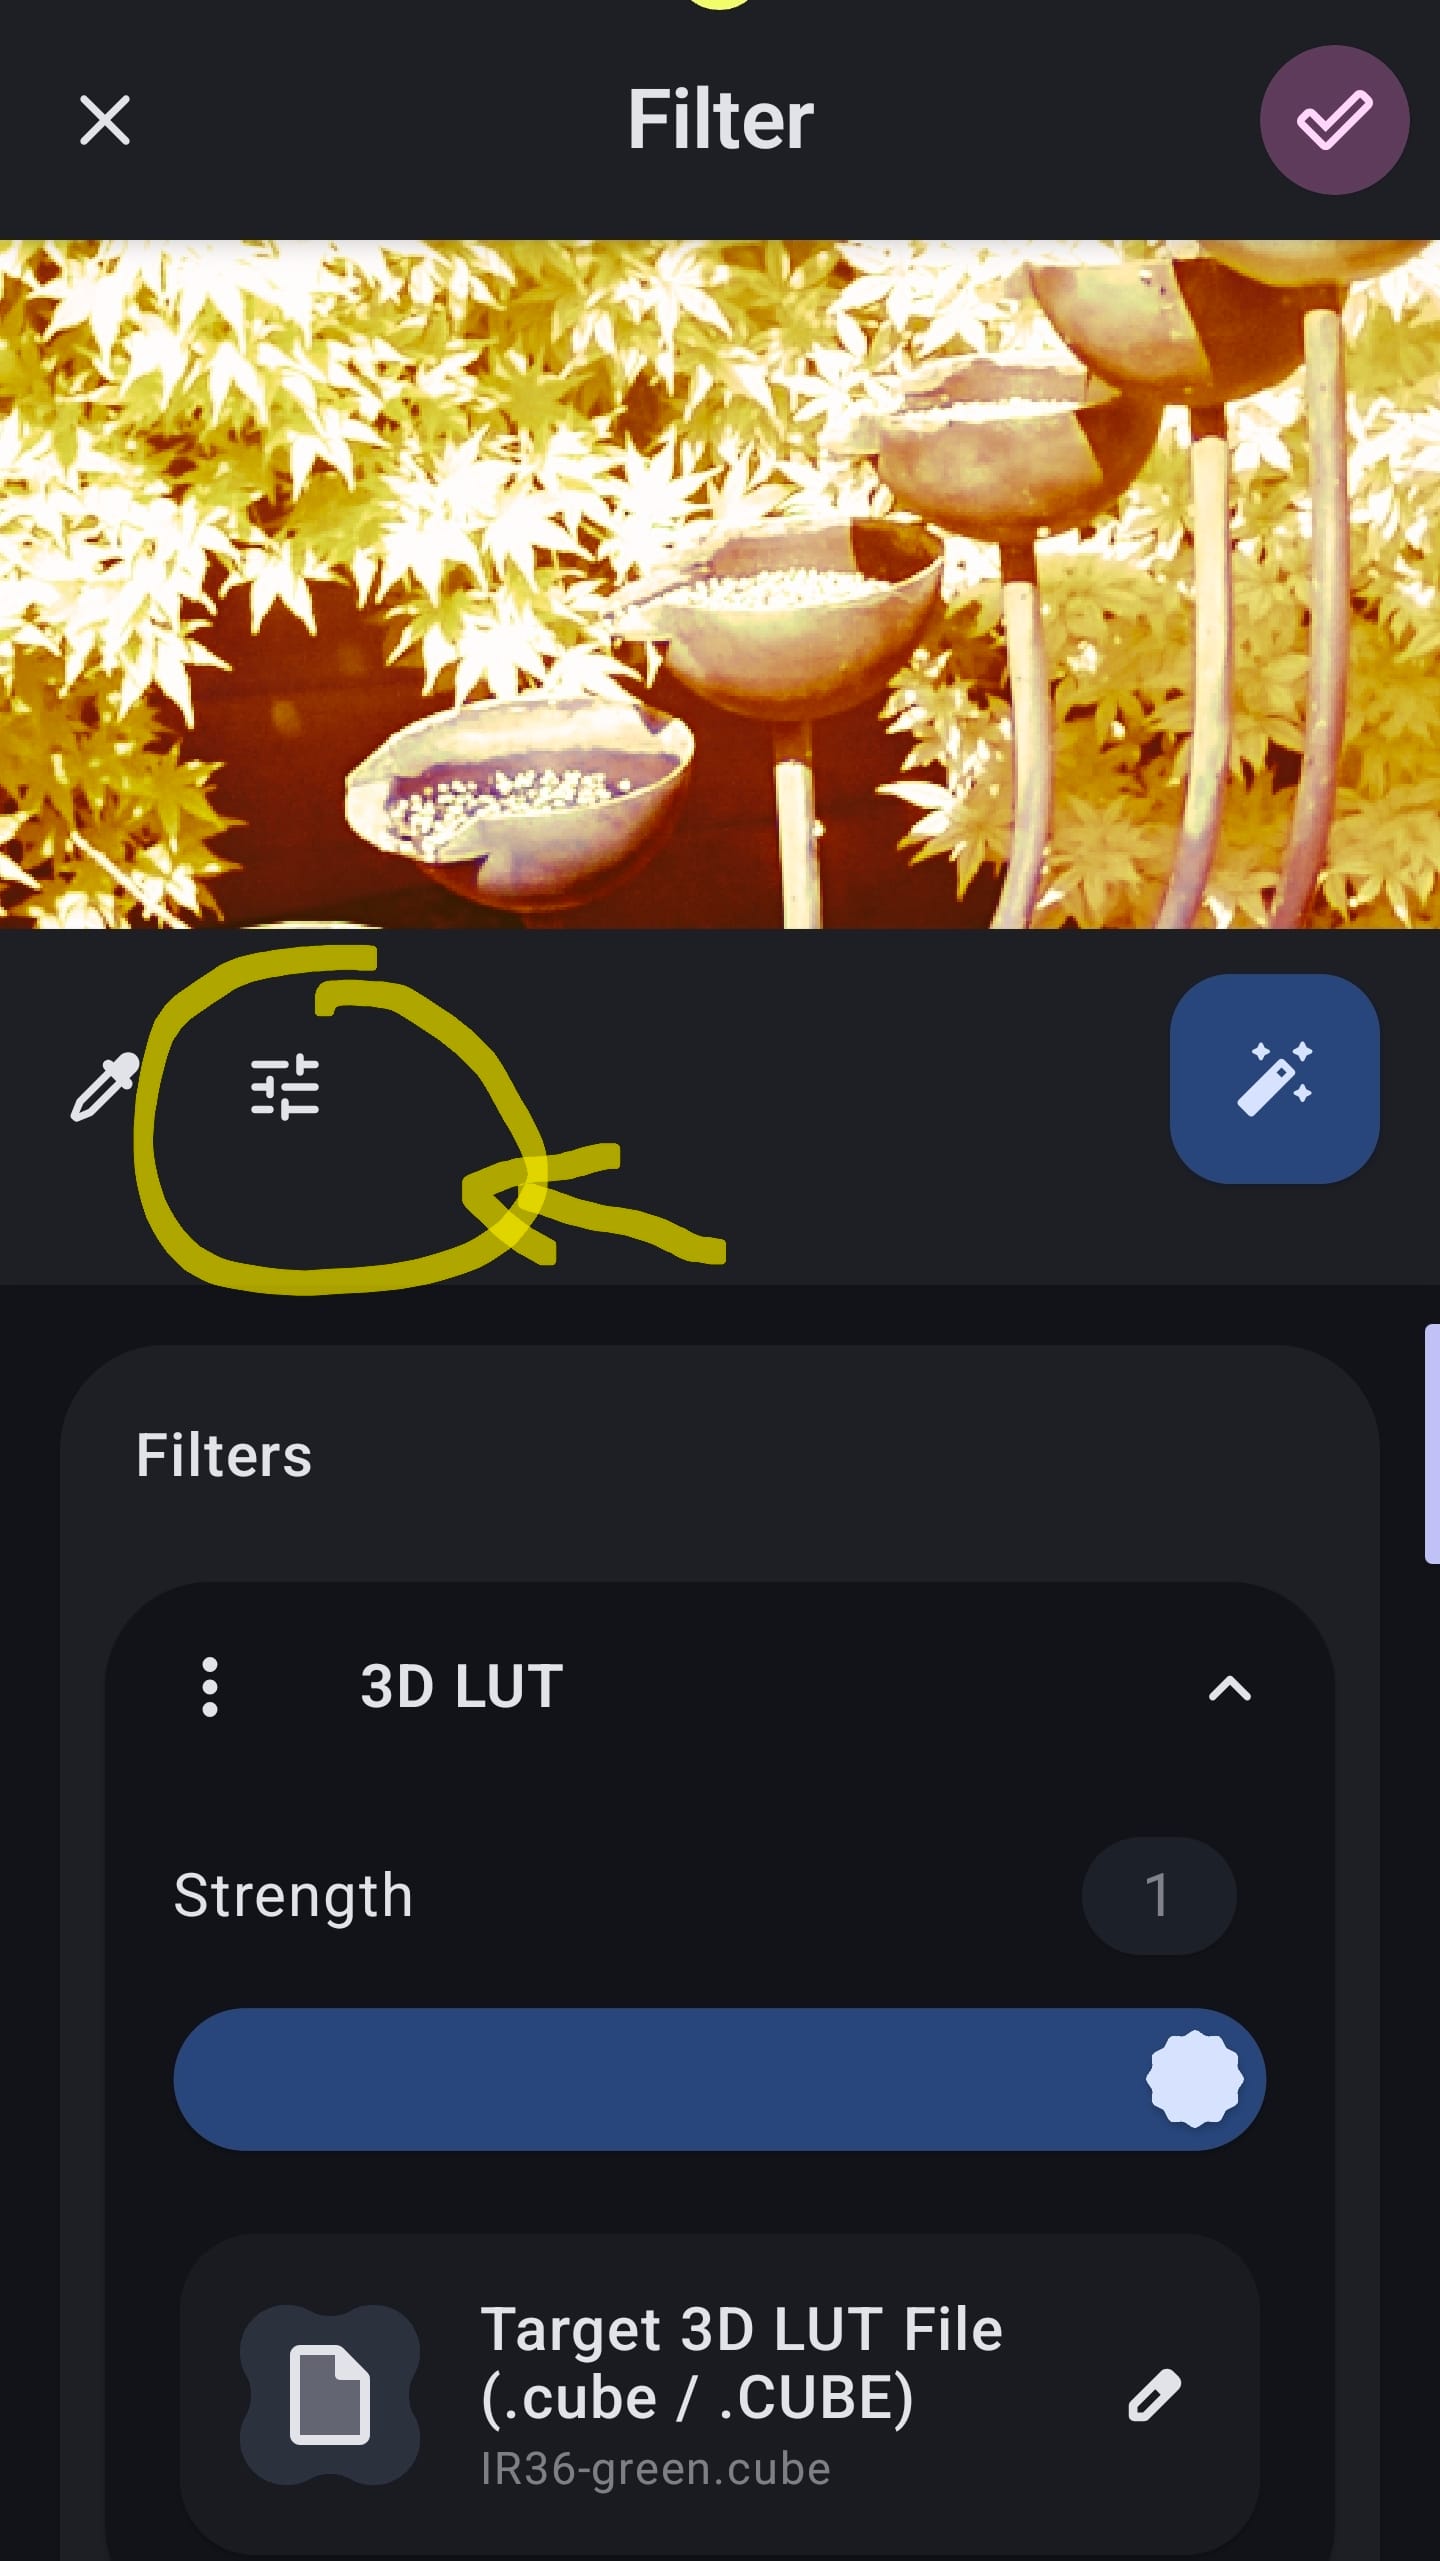
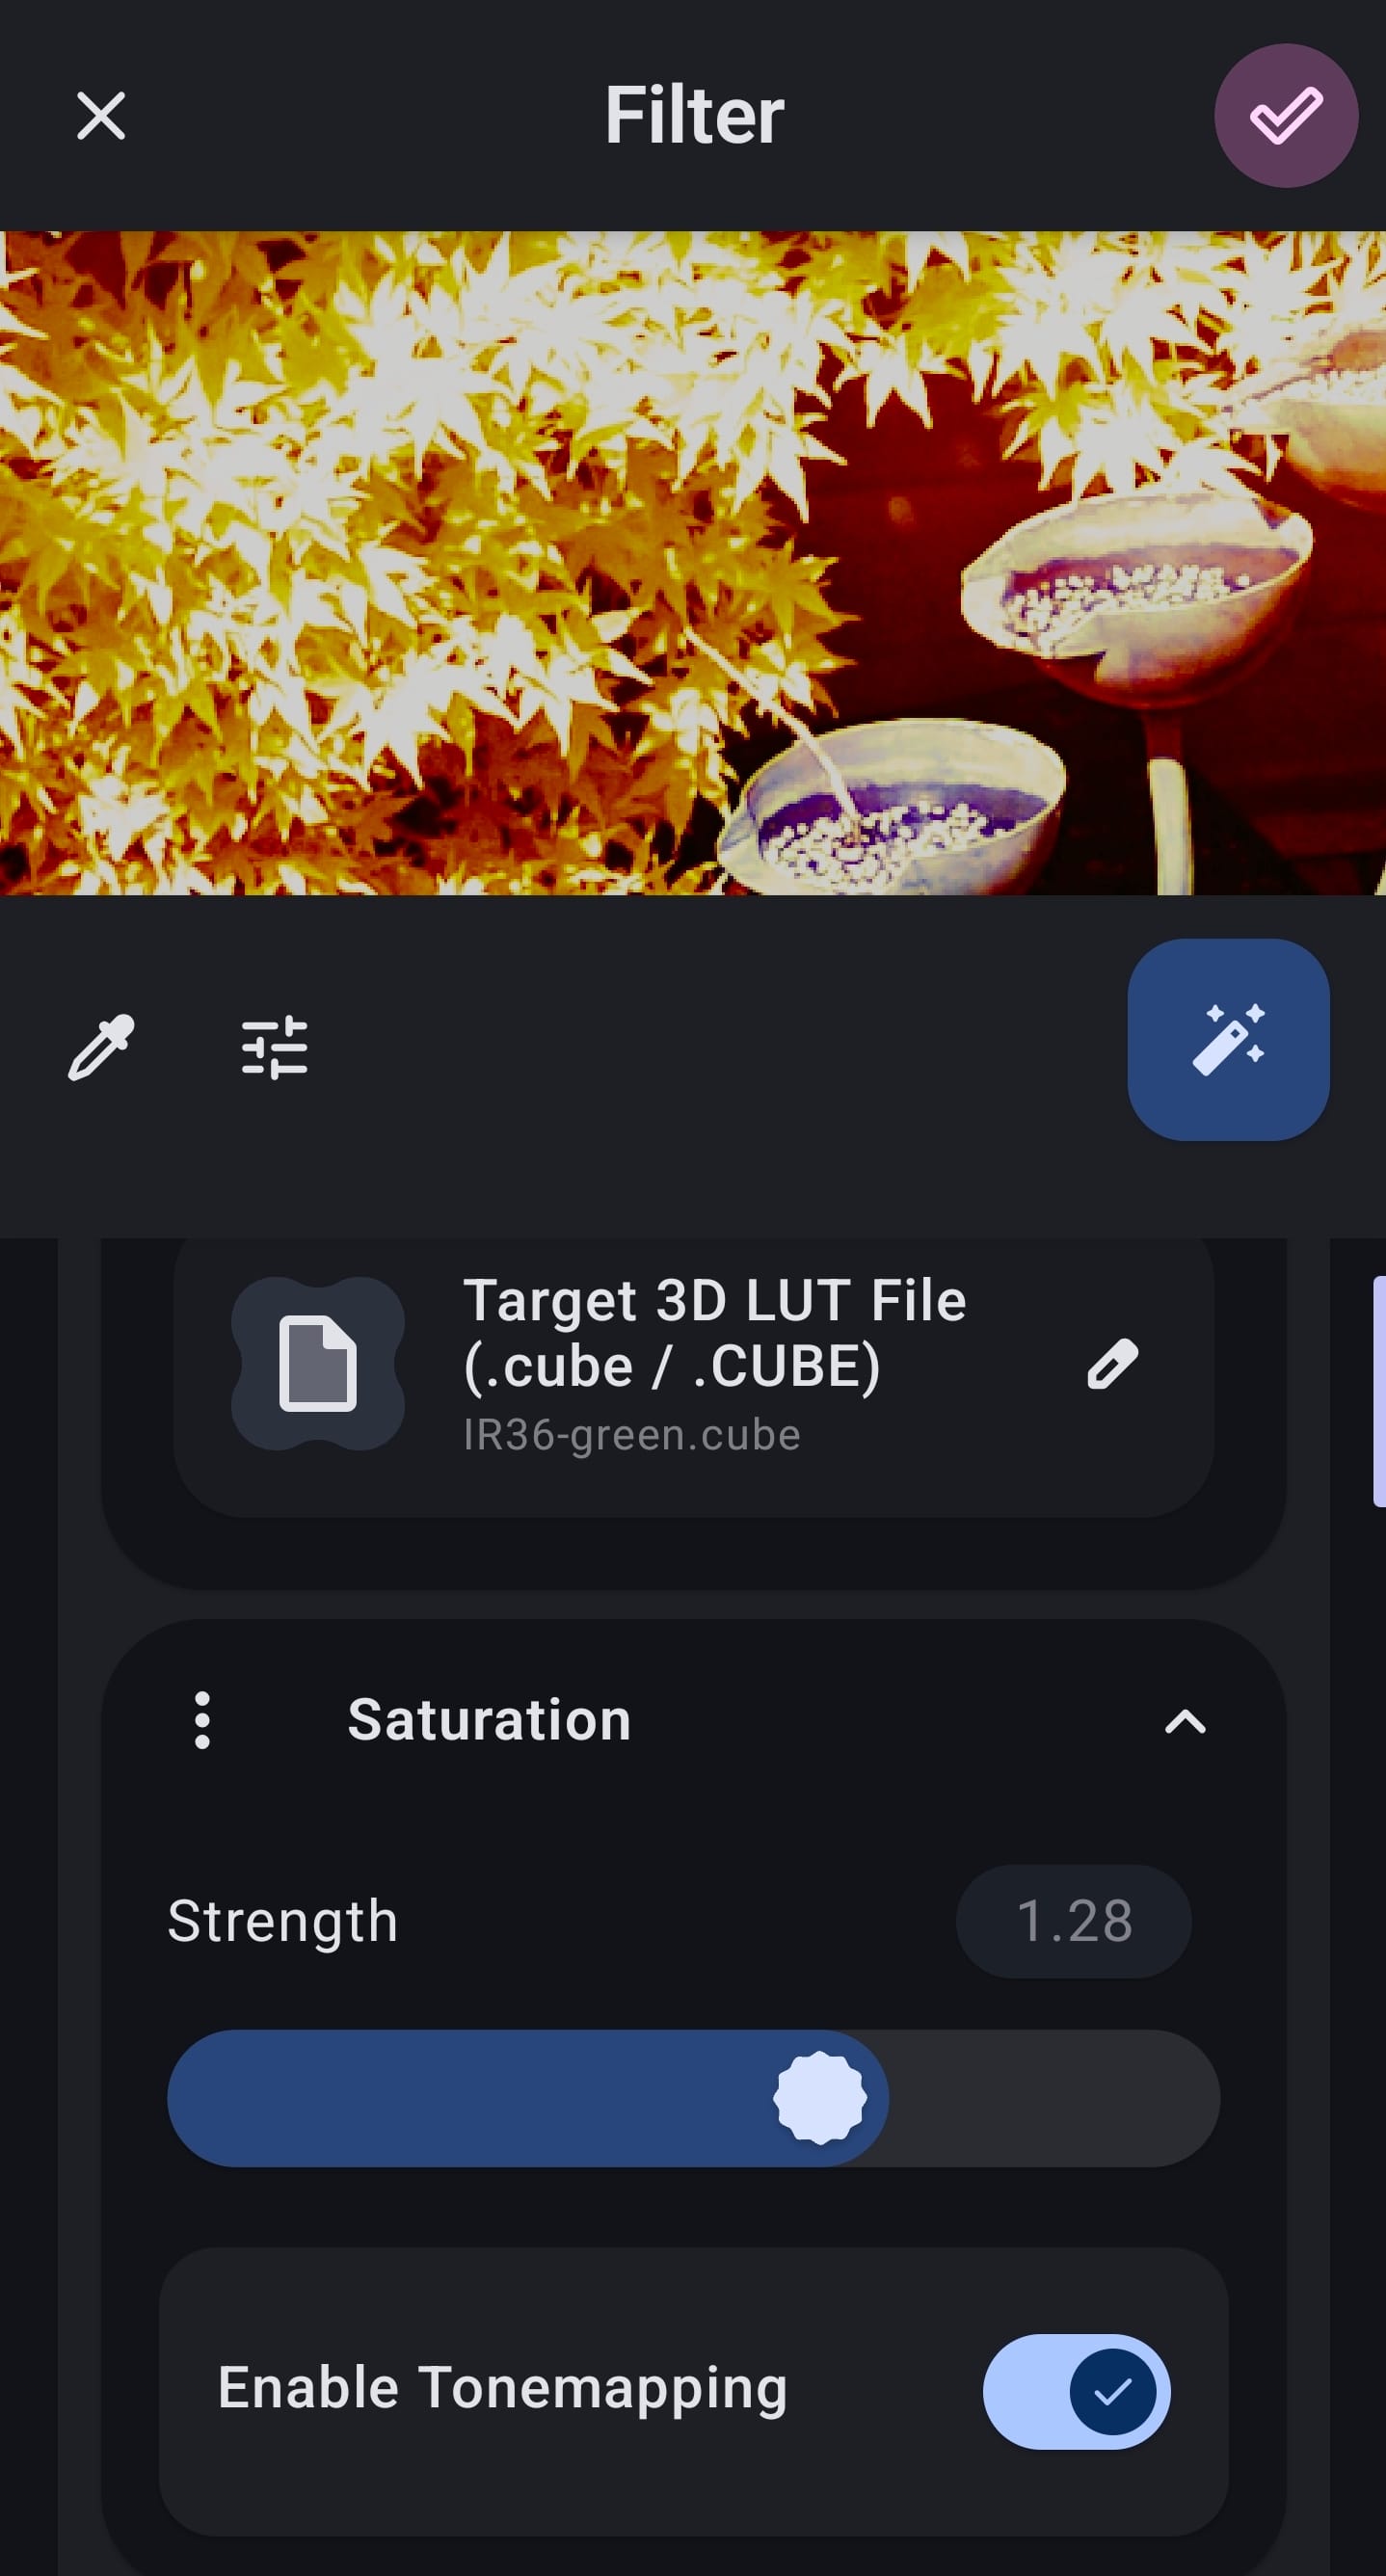
Now that you have the photos you'll need to turn the pink & blue image into something that shows the infrared light in a way that you can see it better... false colour! (You can see what you're likely to start with in the bottom left circle in the image above). First step: pick the RAW image in your photo gallery app & share it to imagetoolbox.
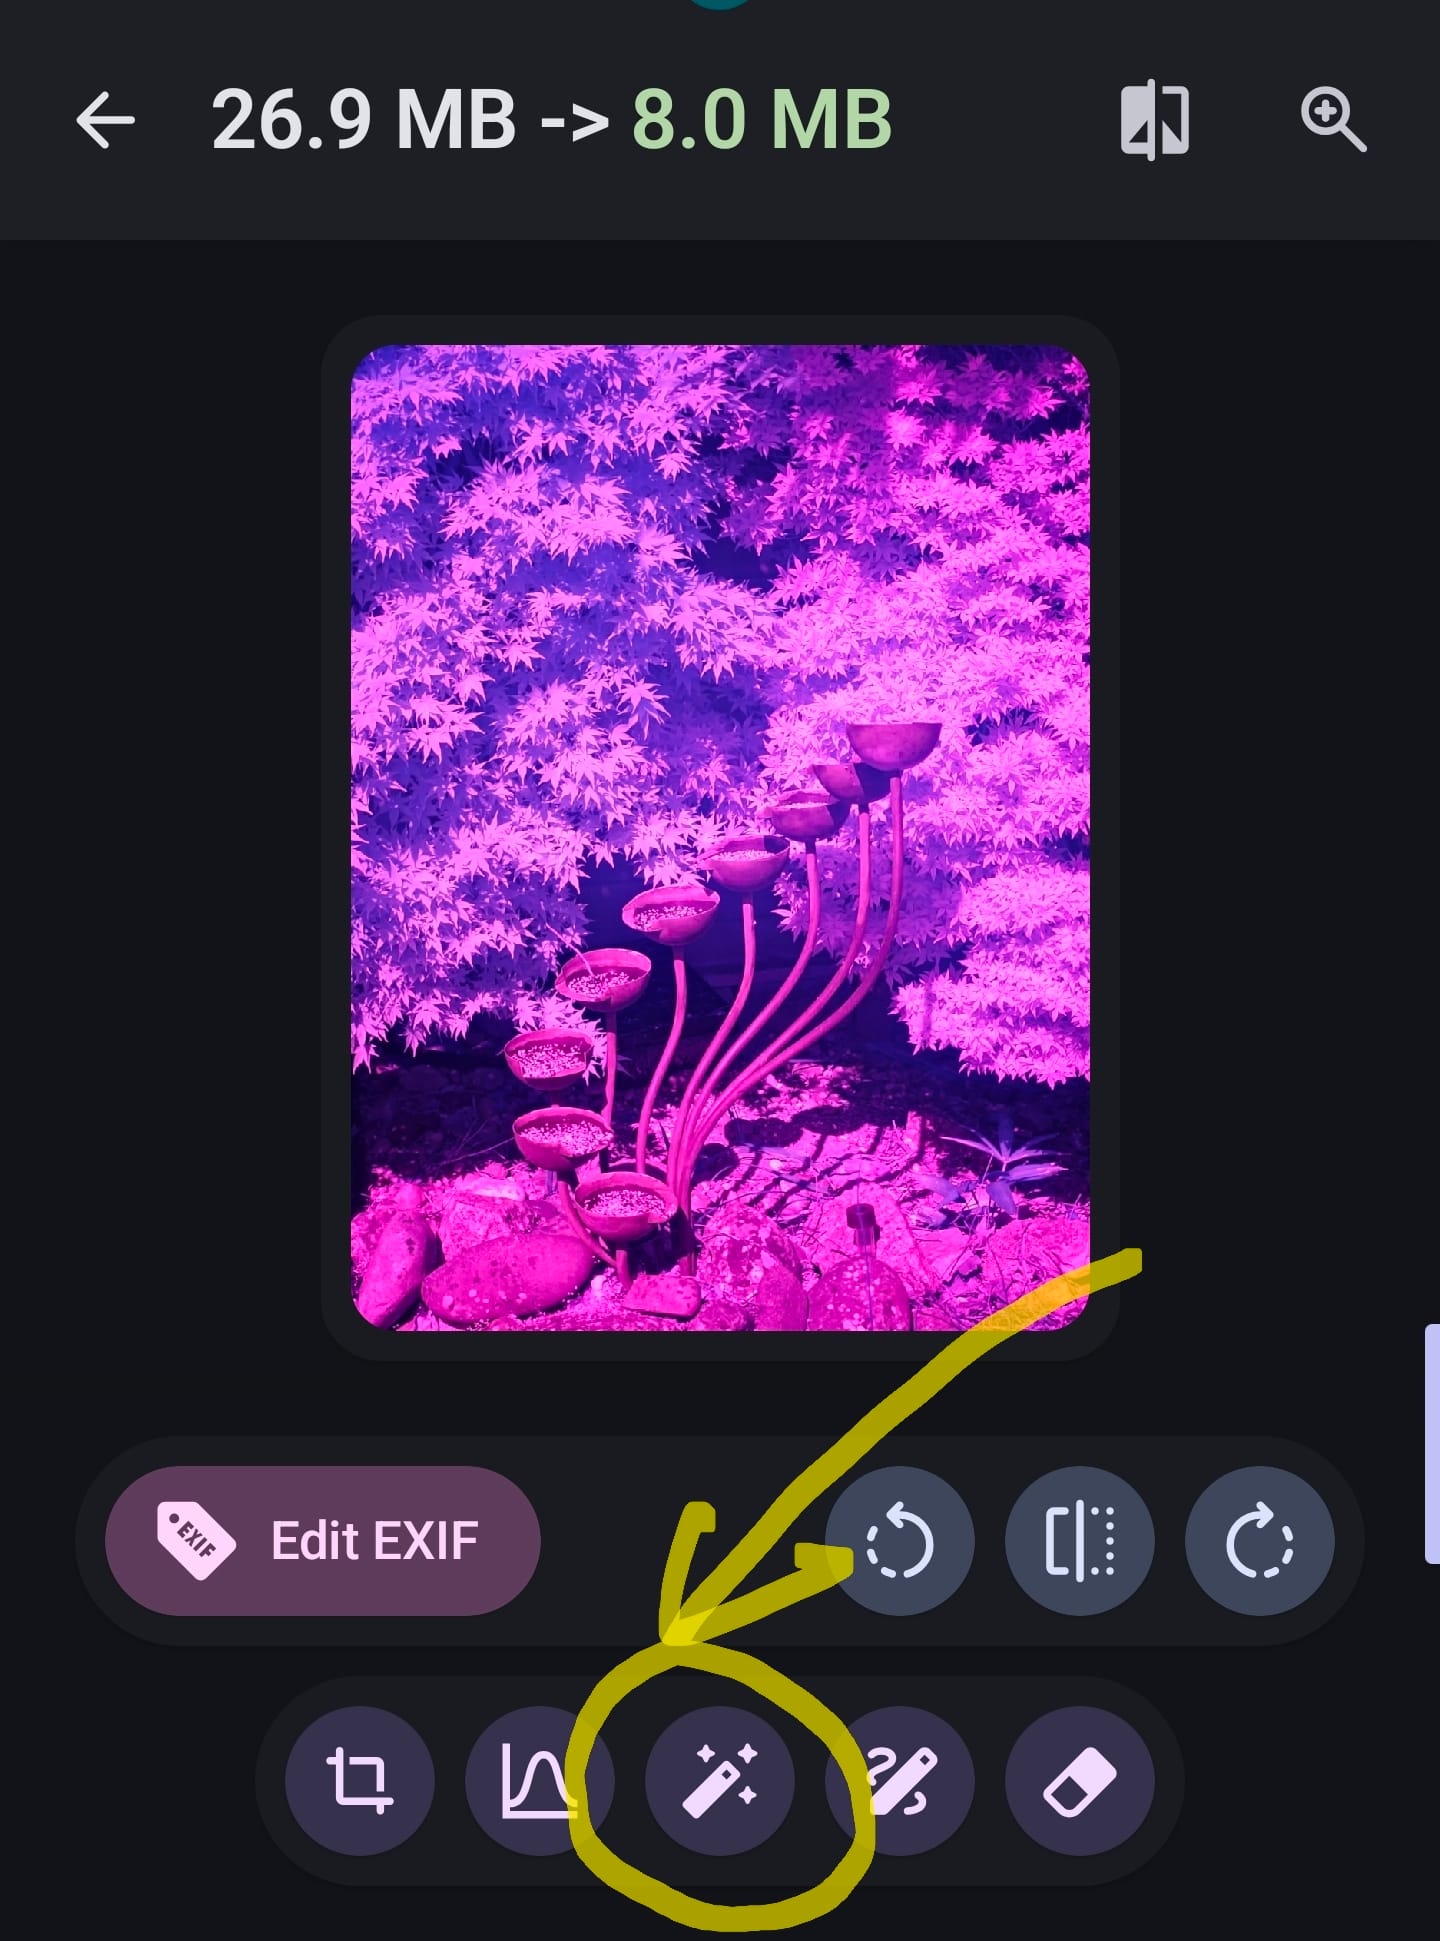
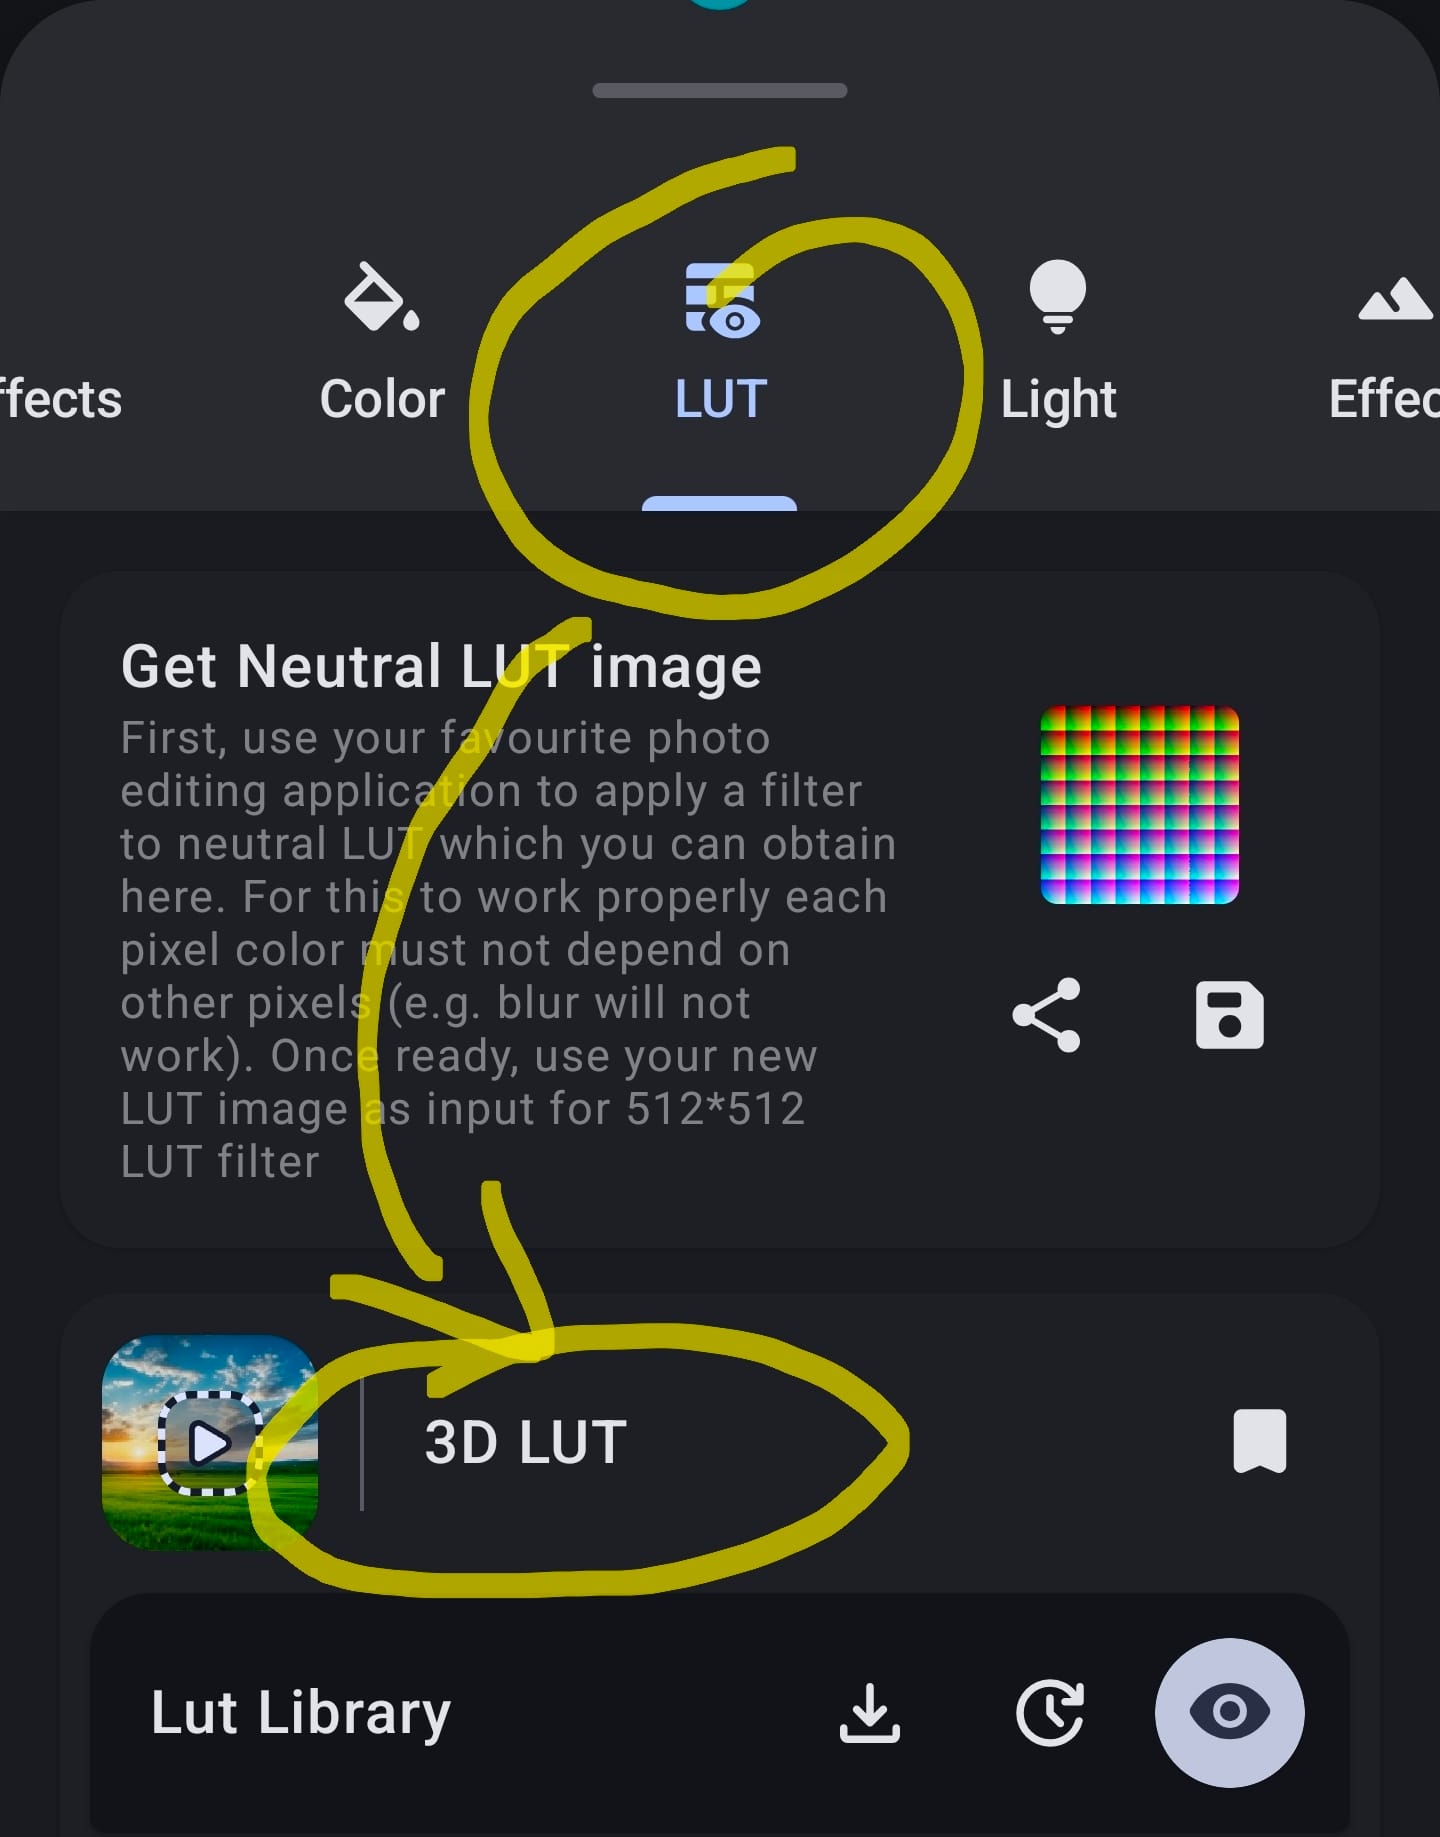
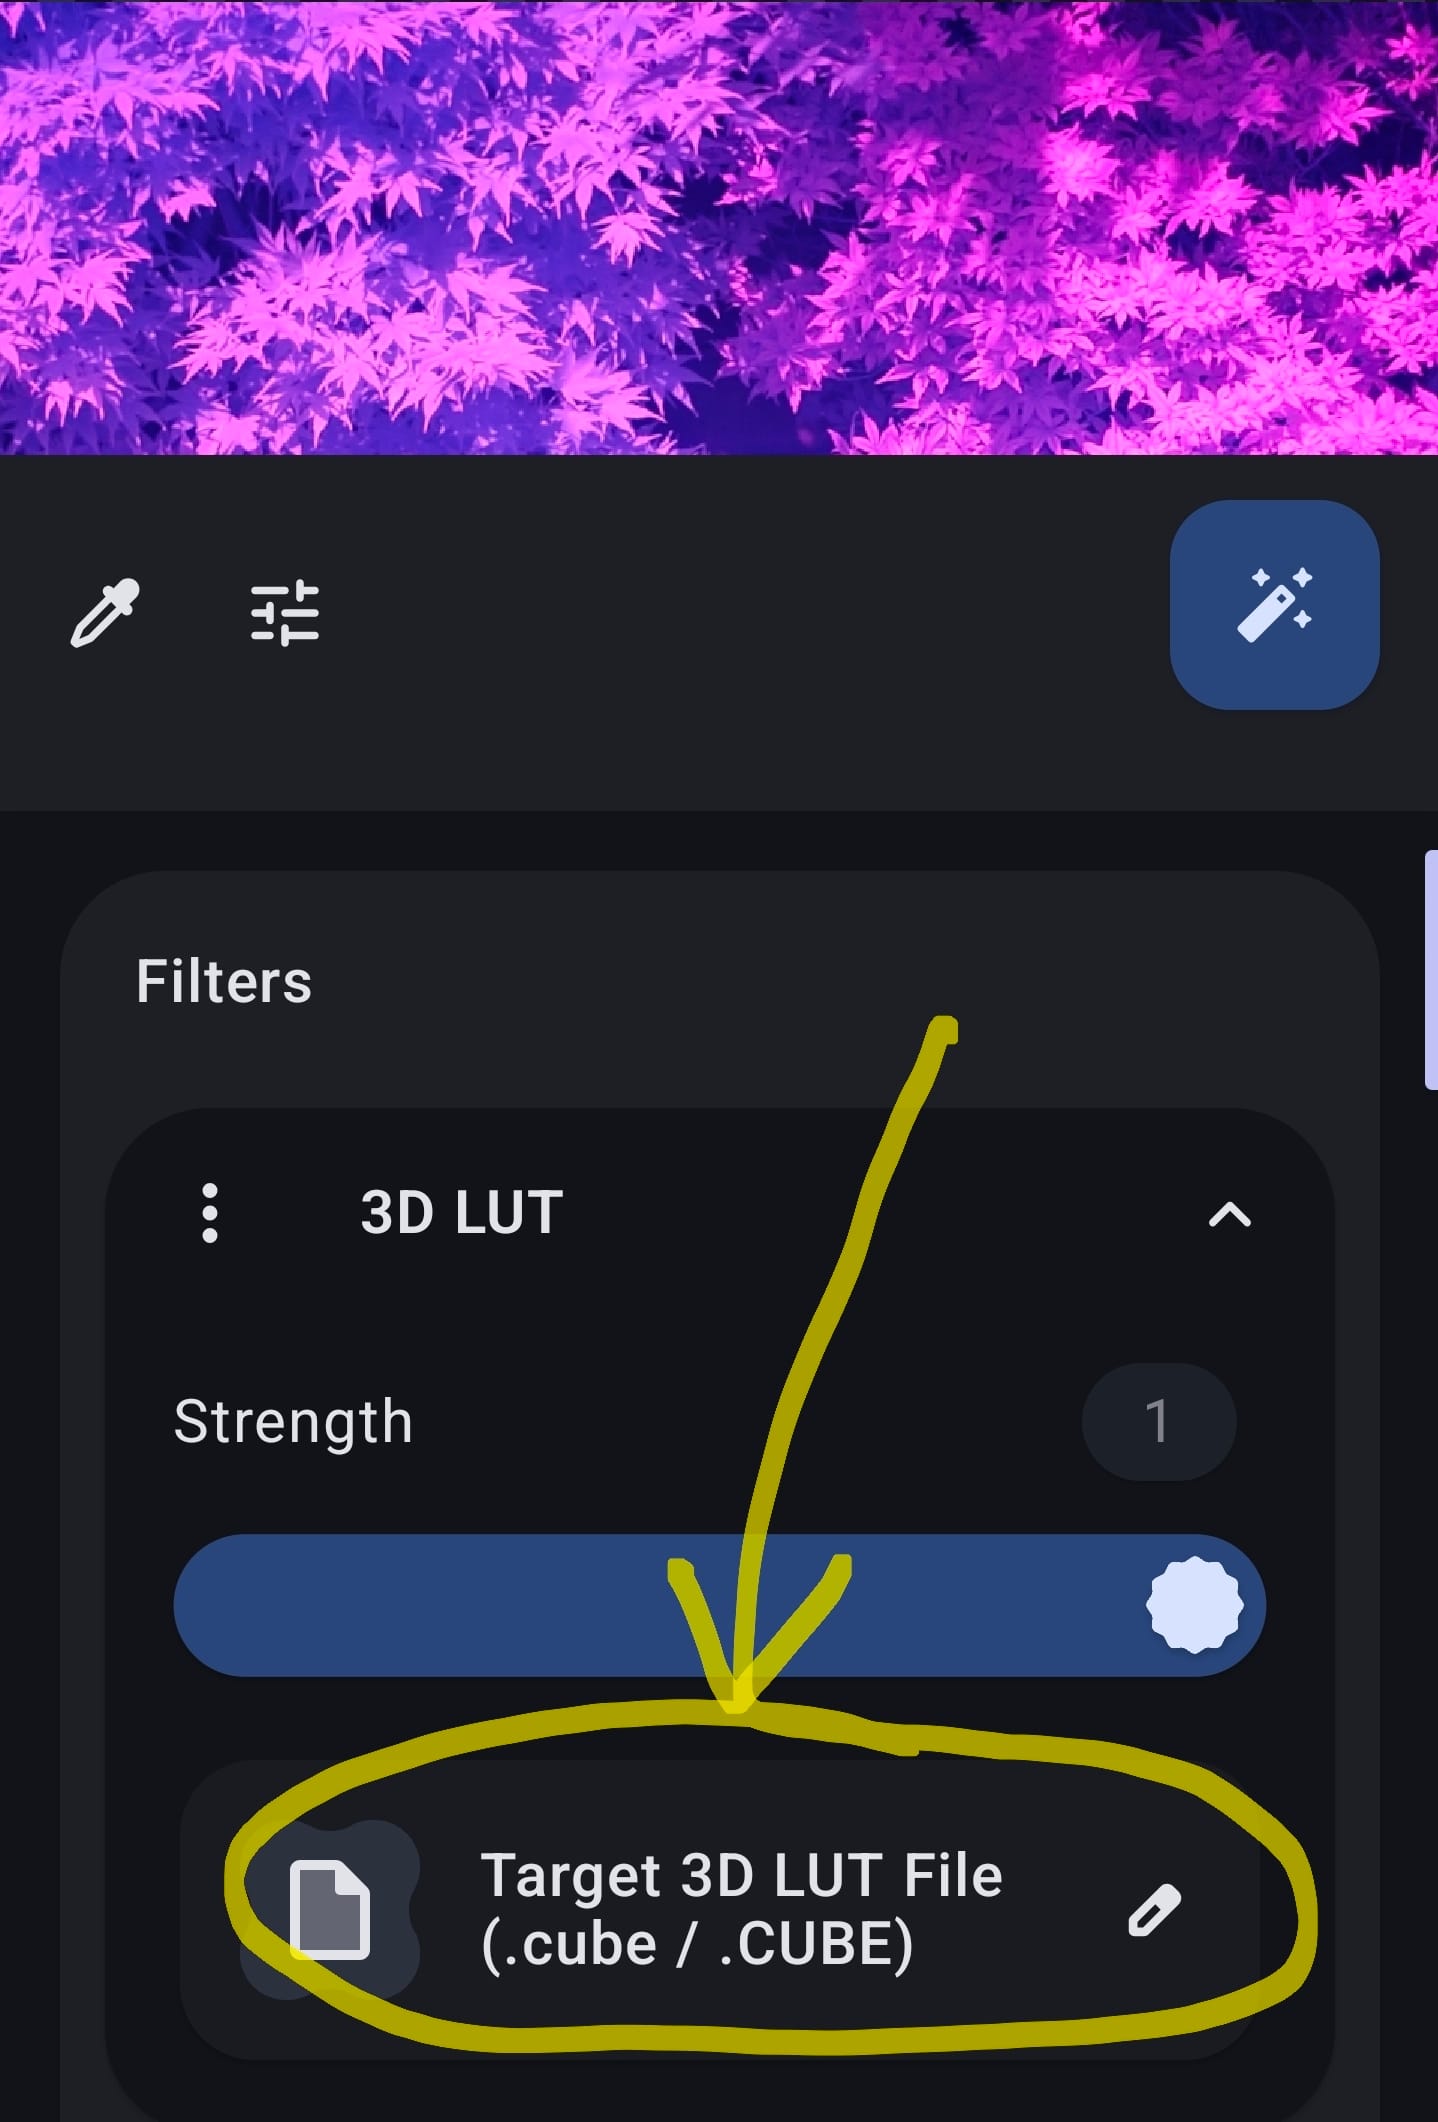
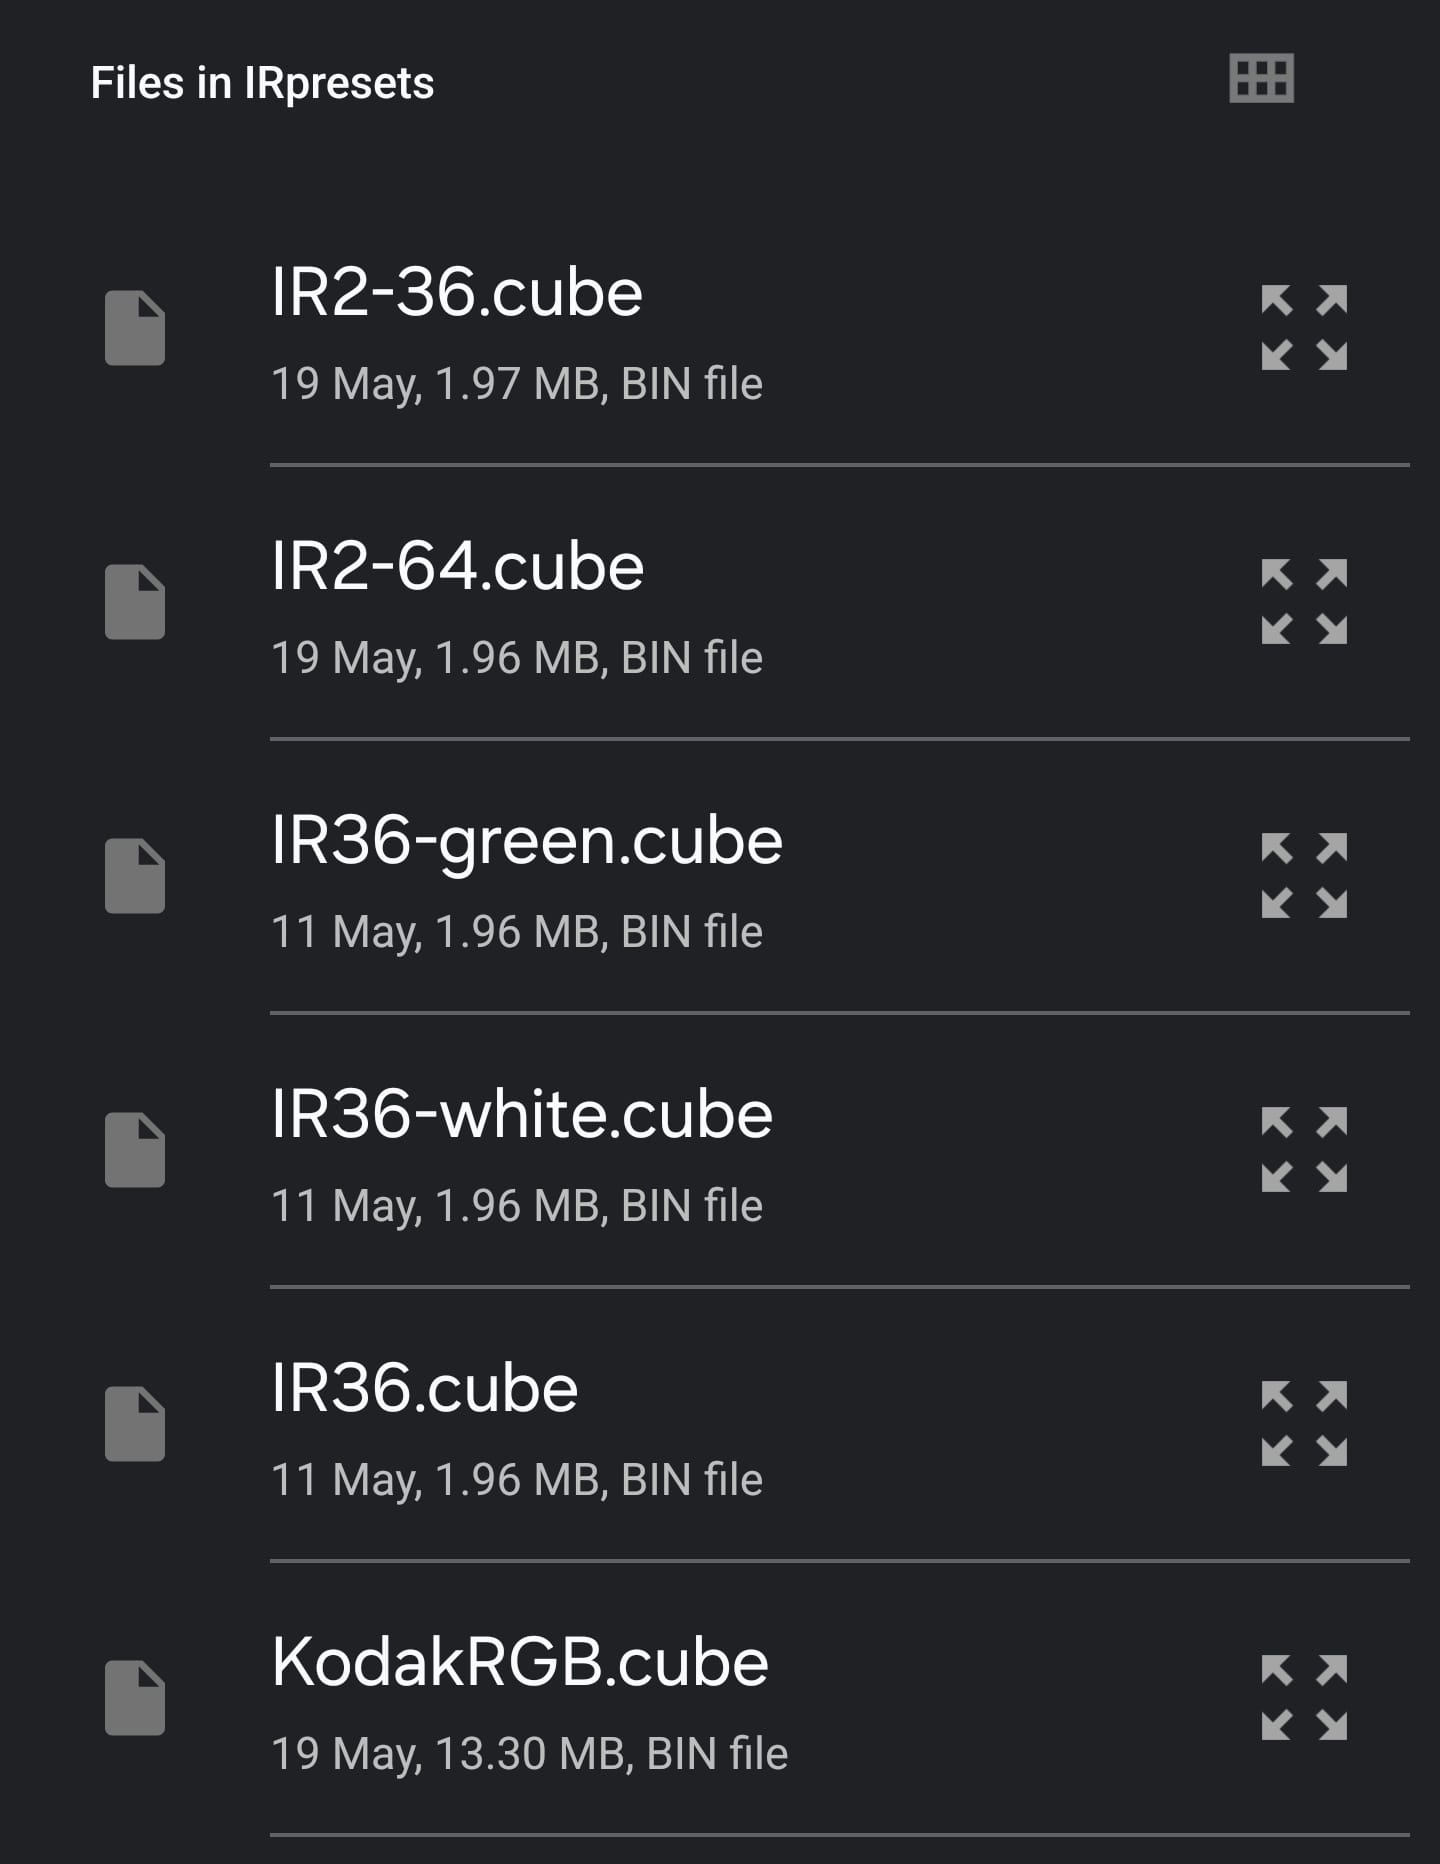
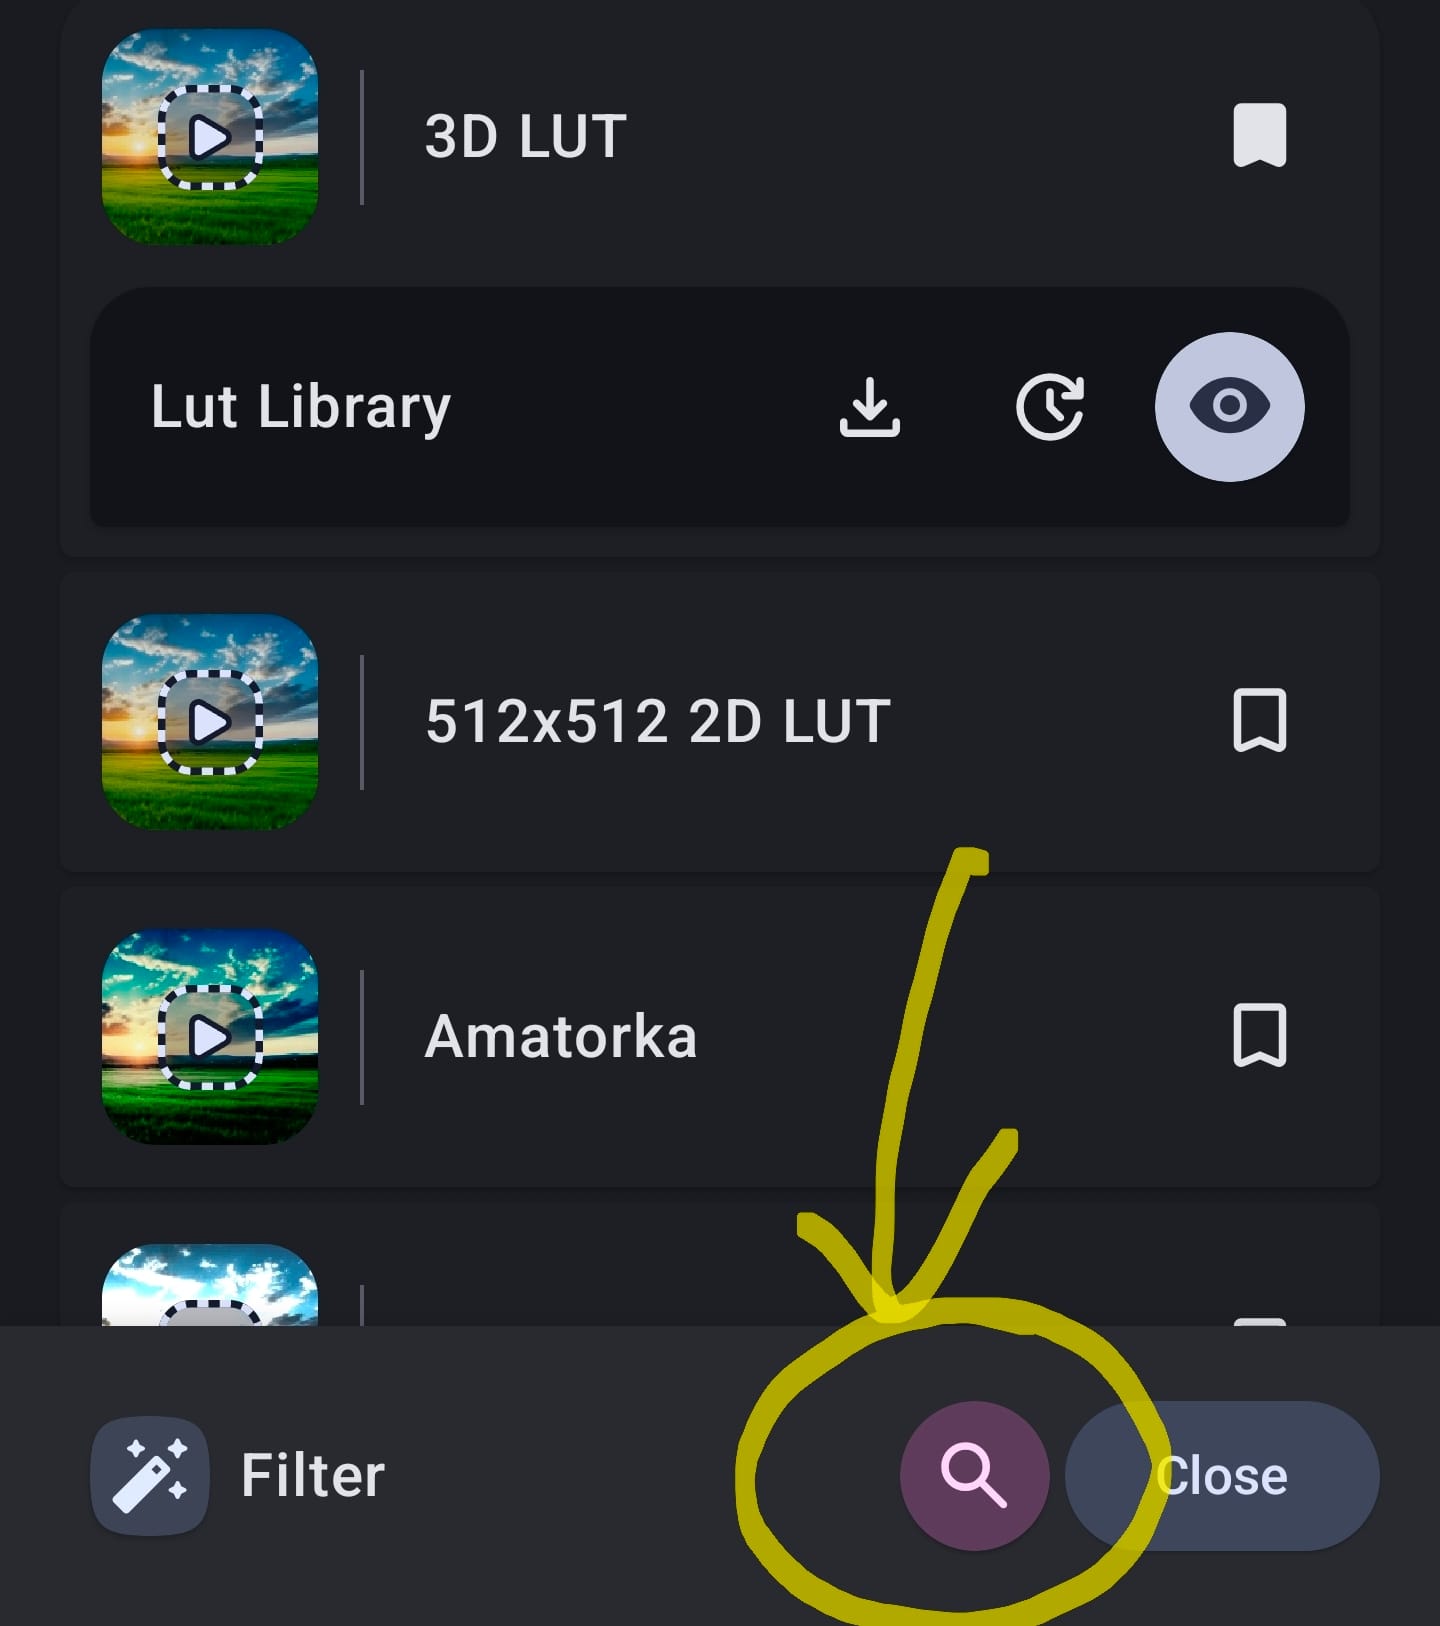
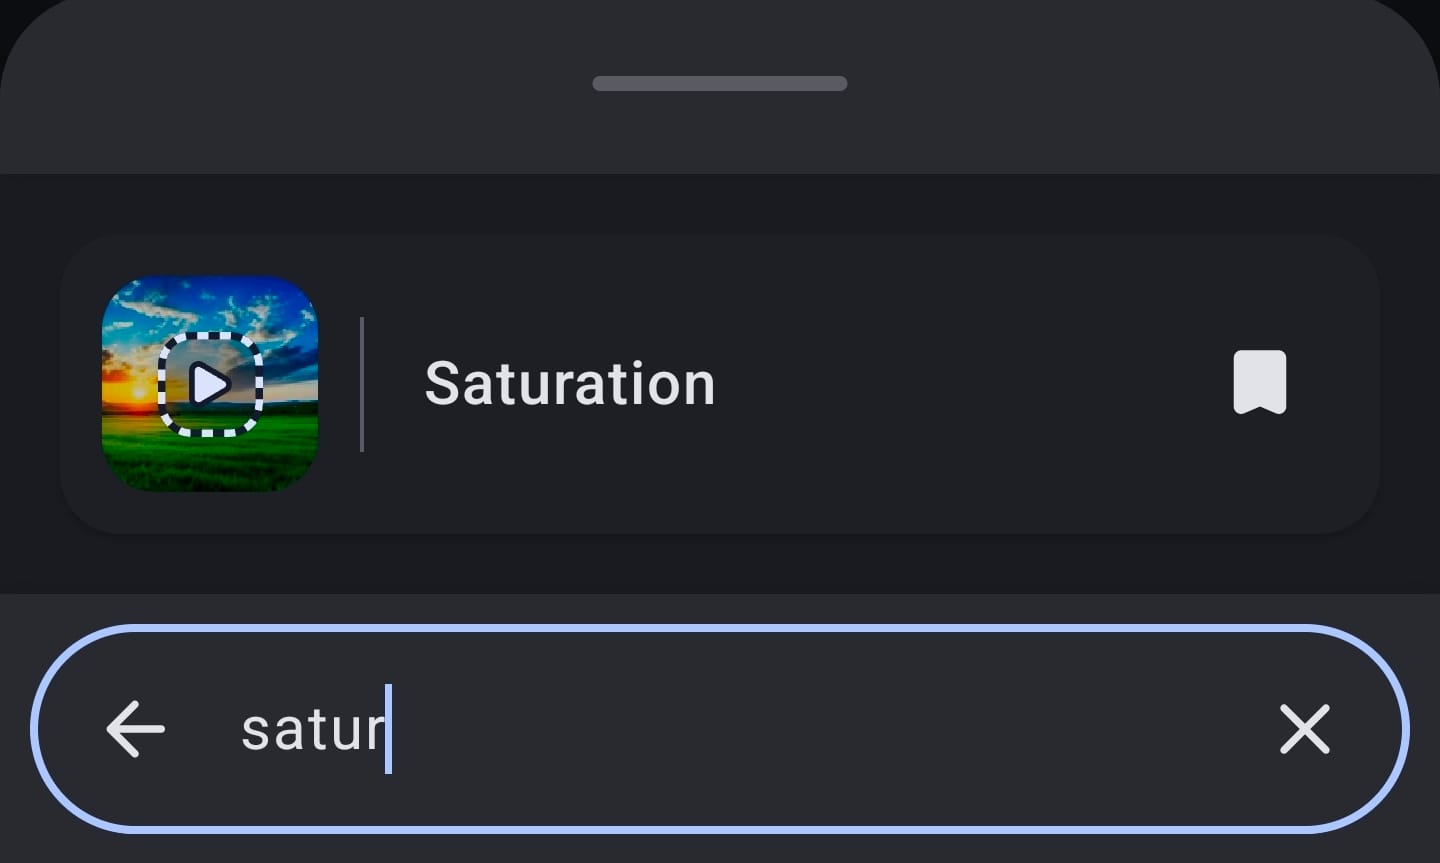
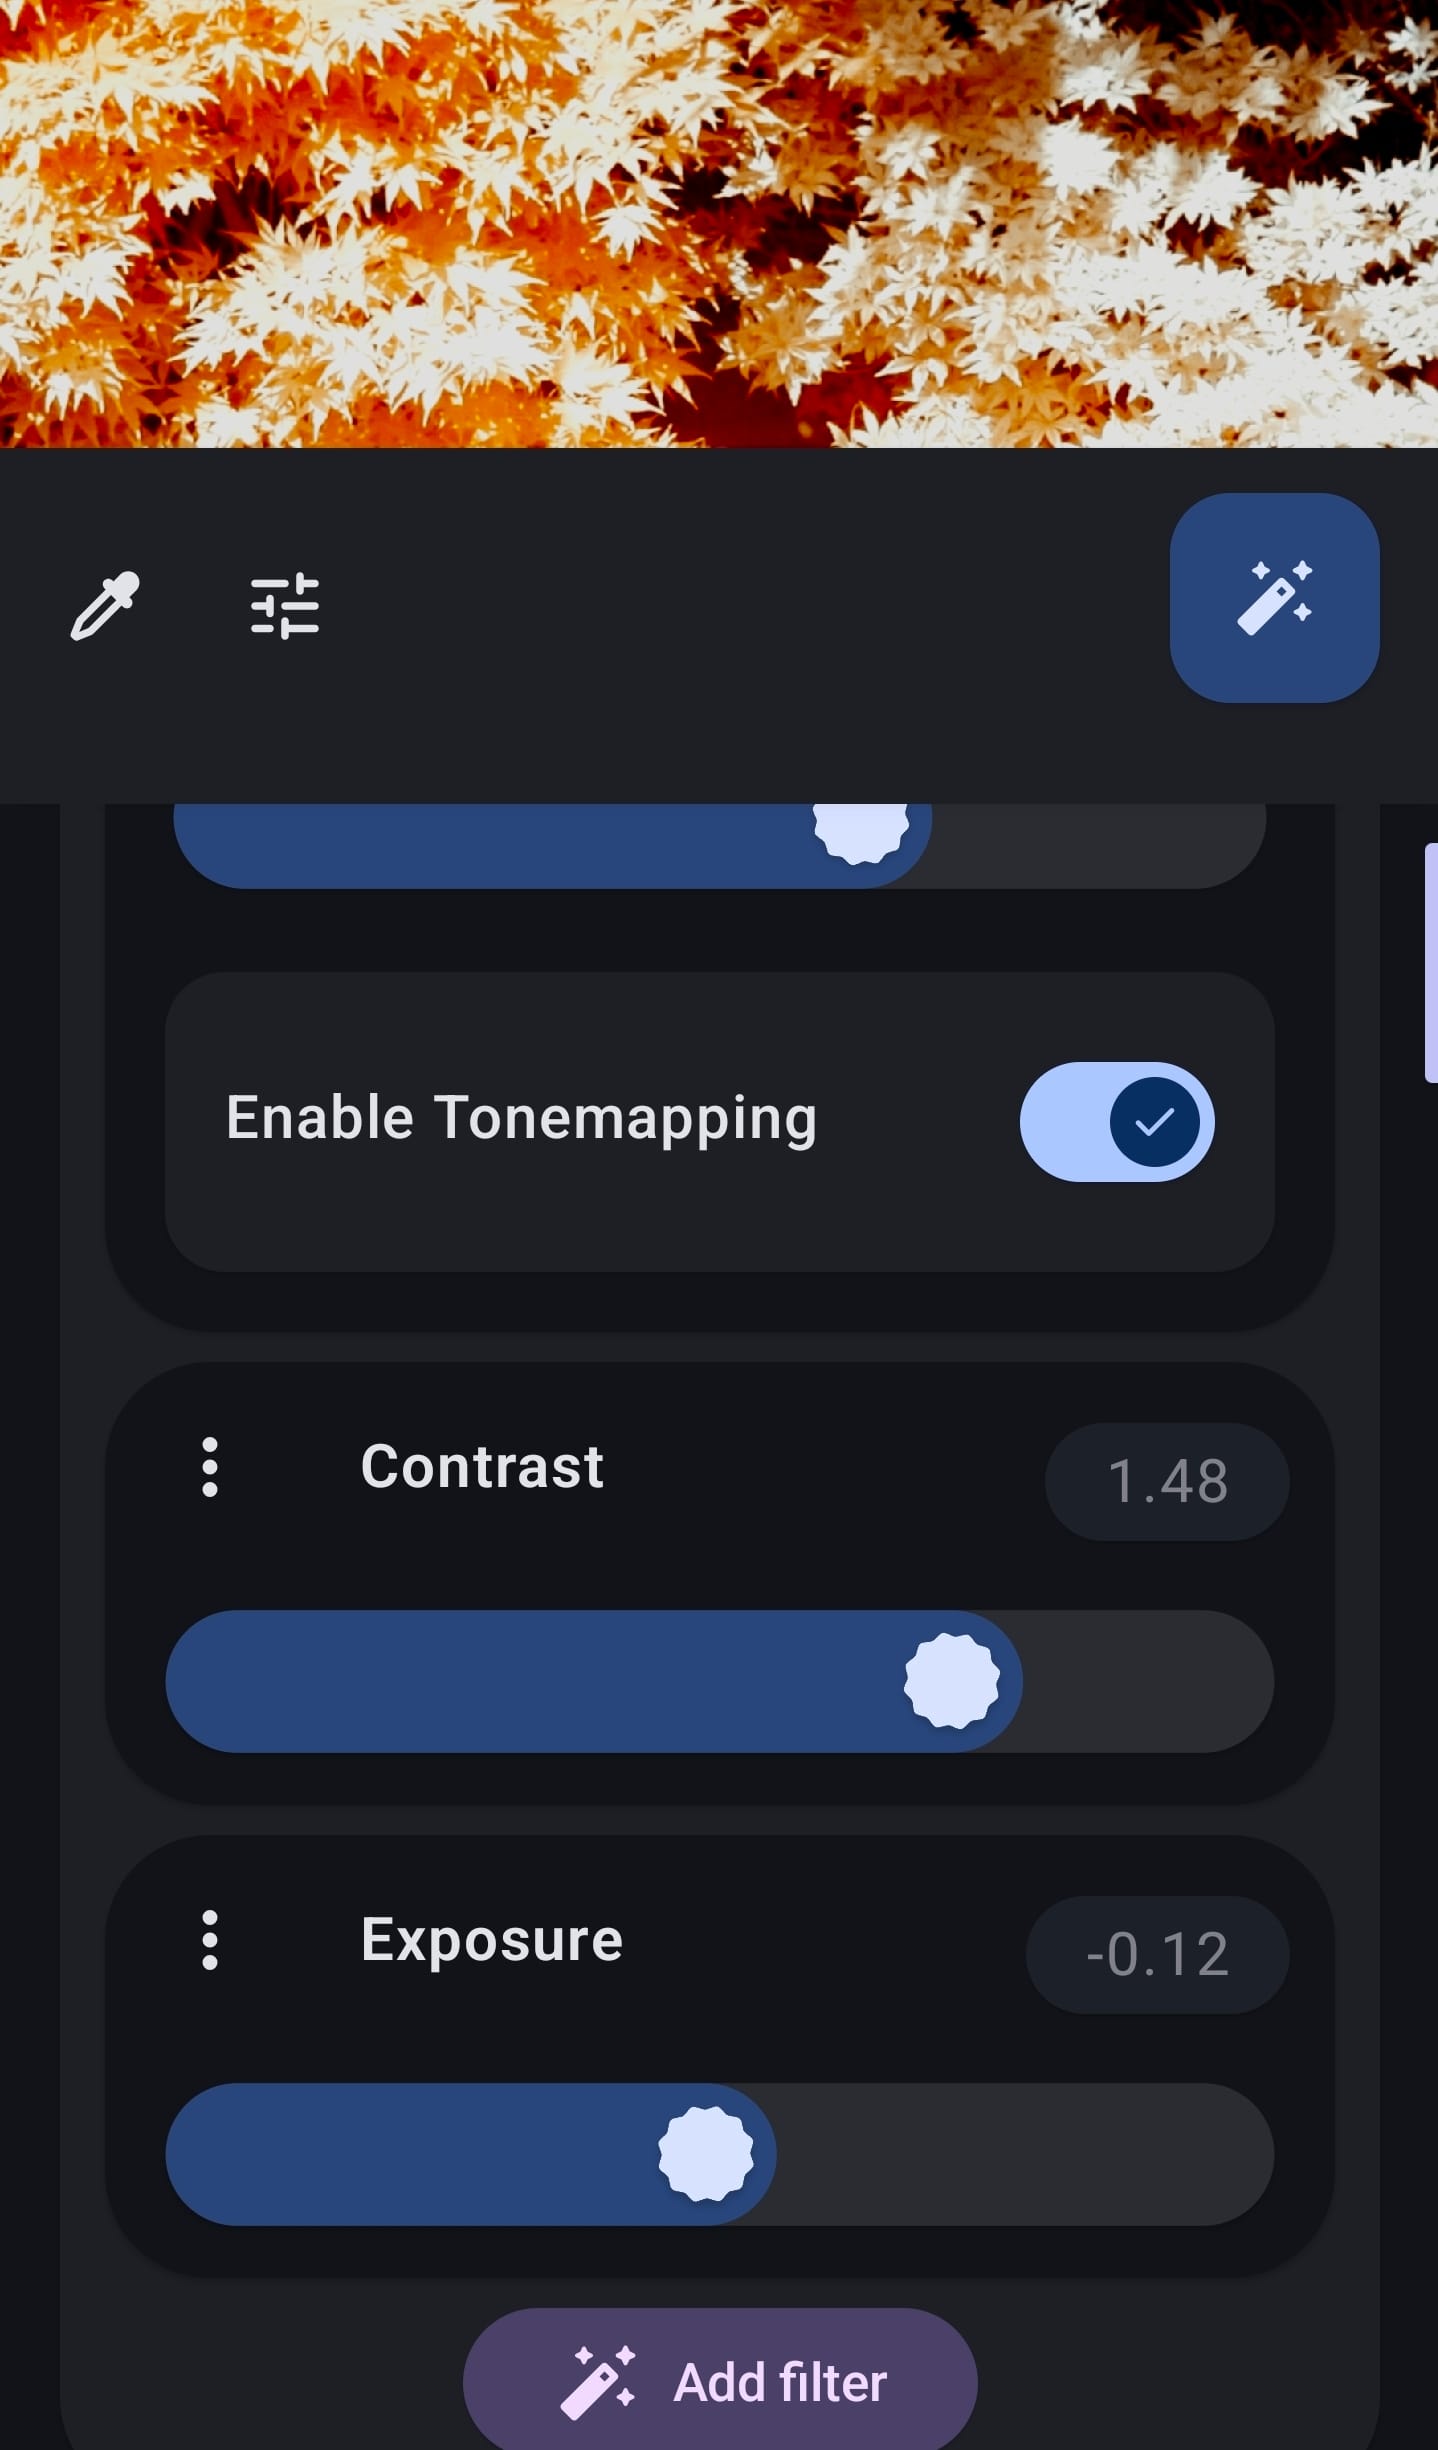
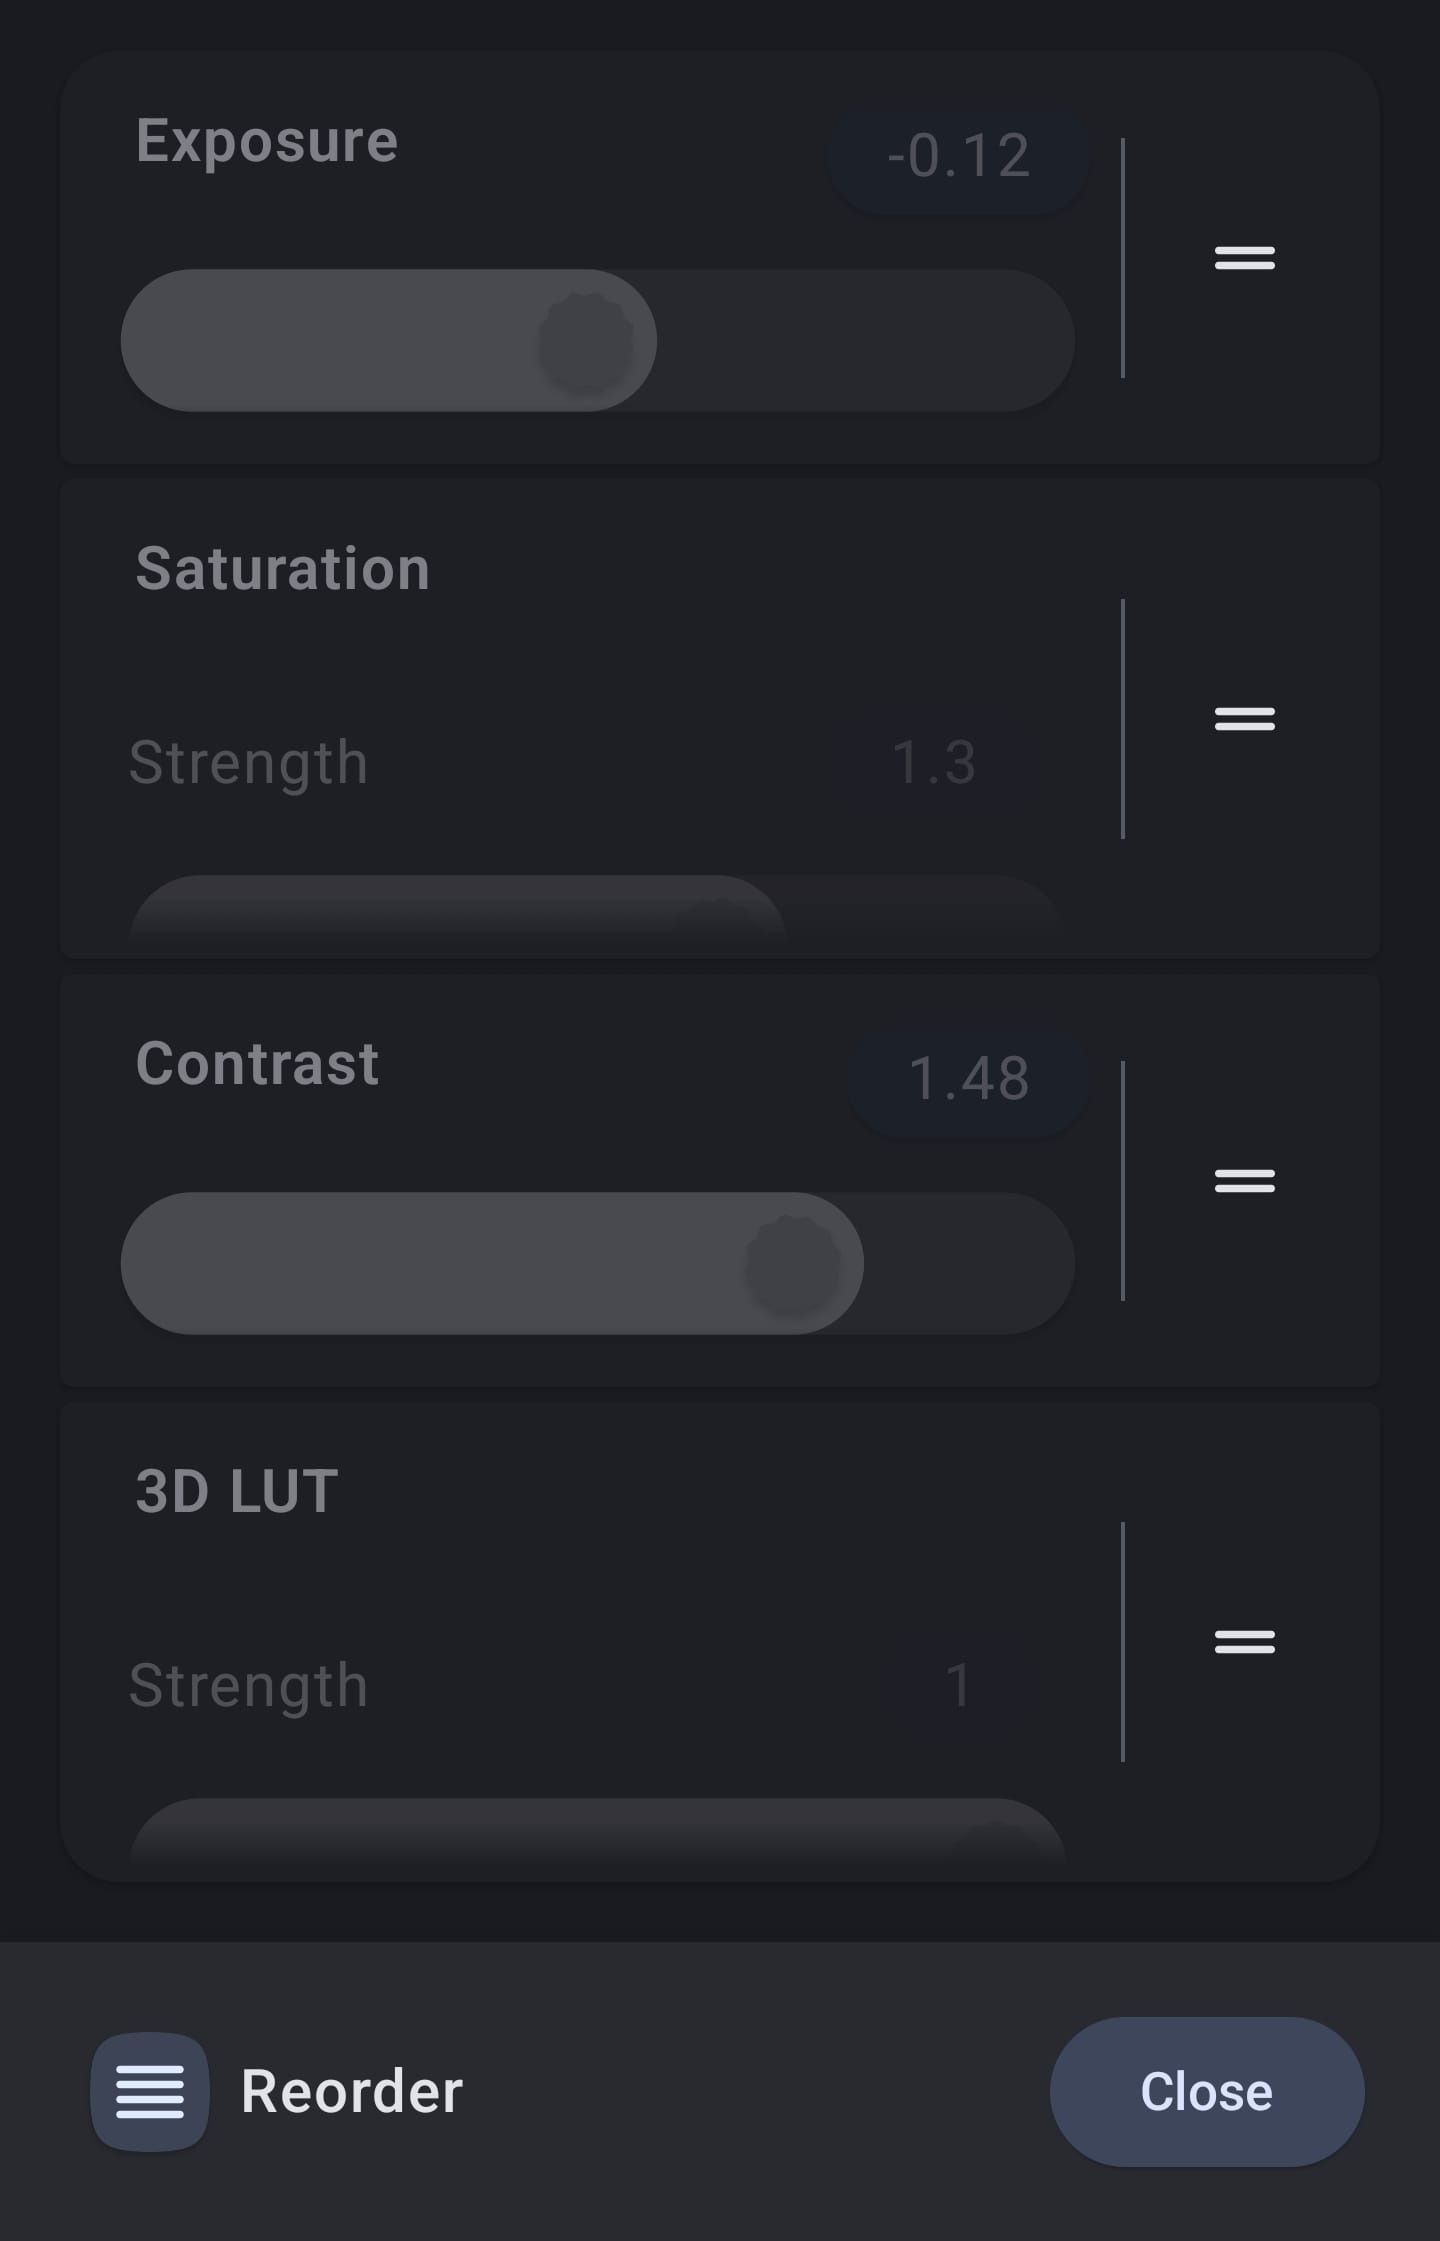
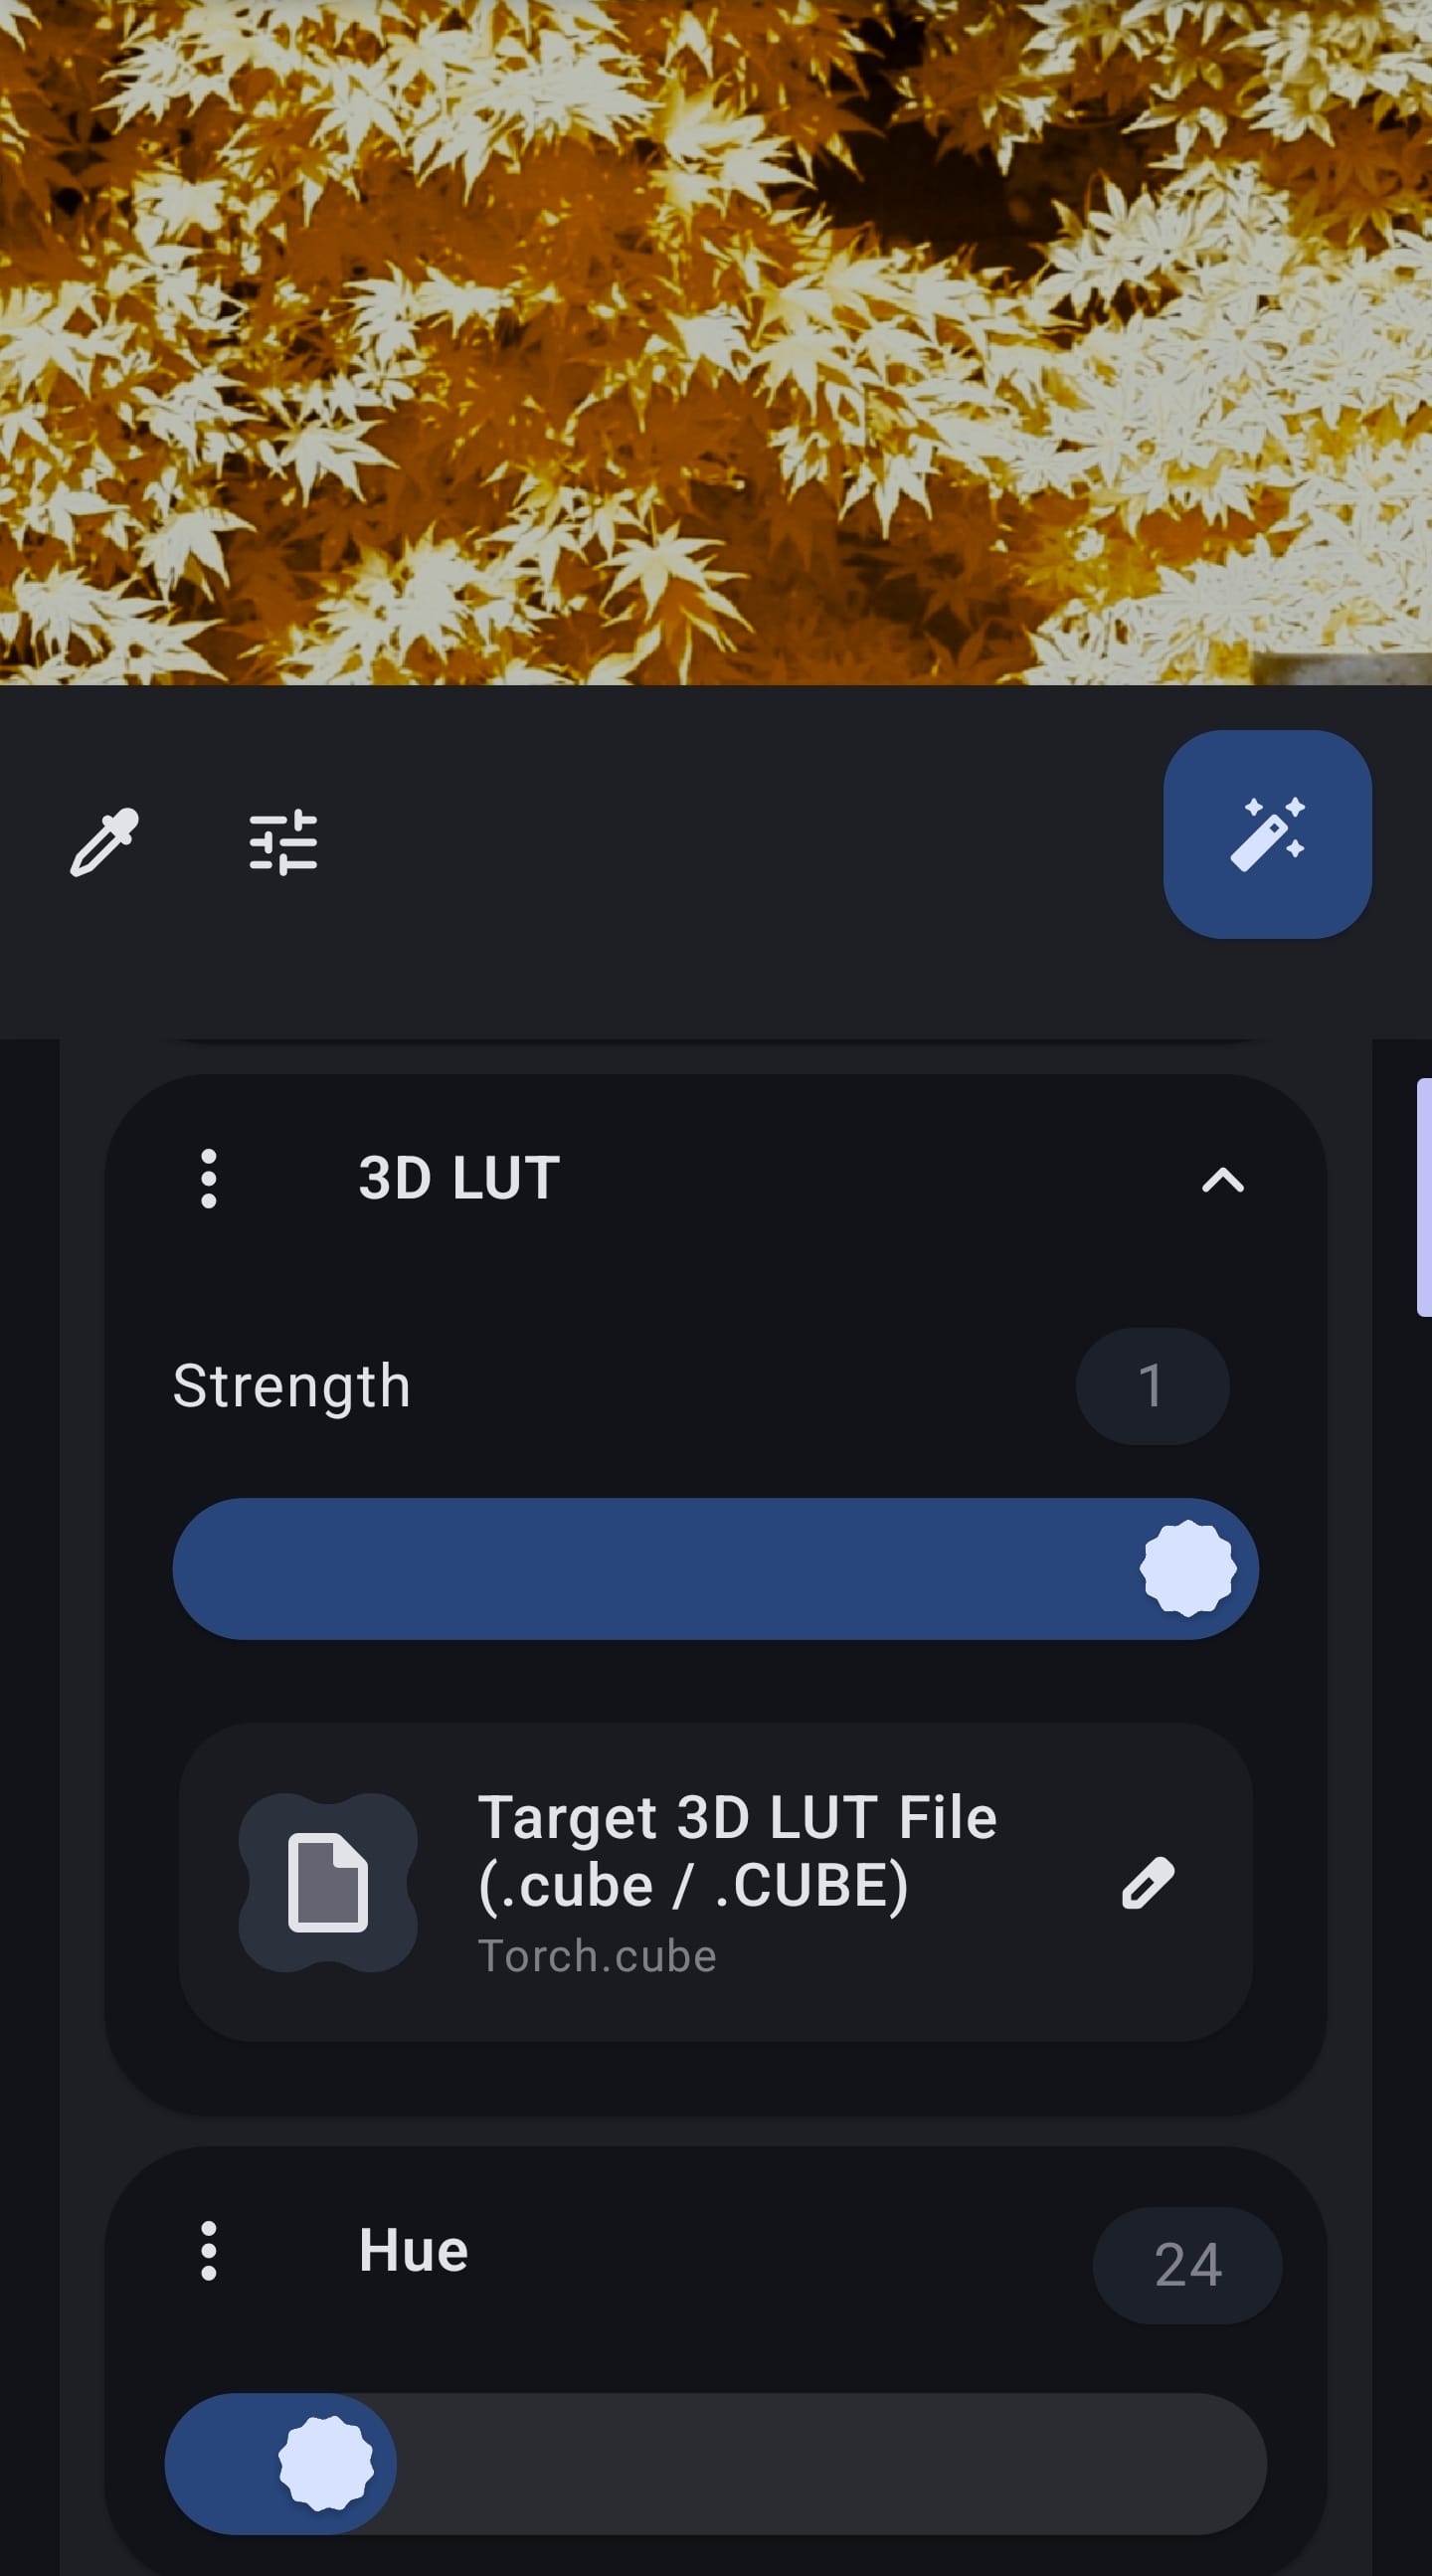
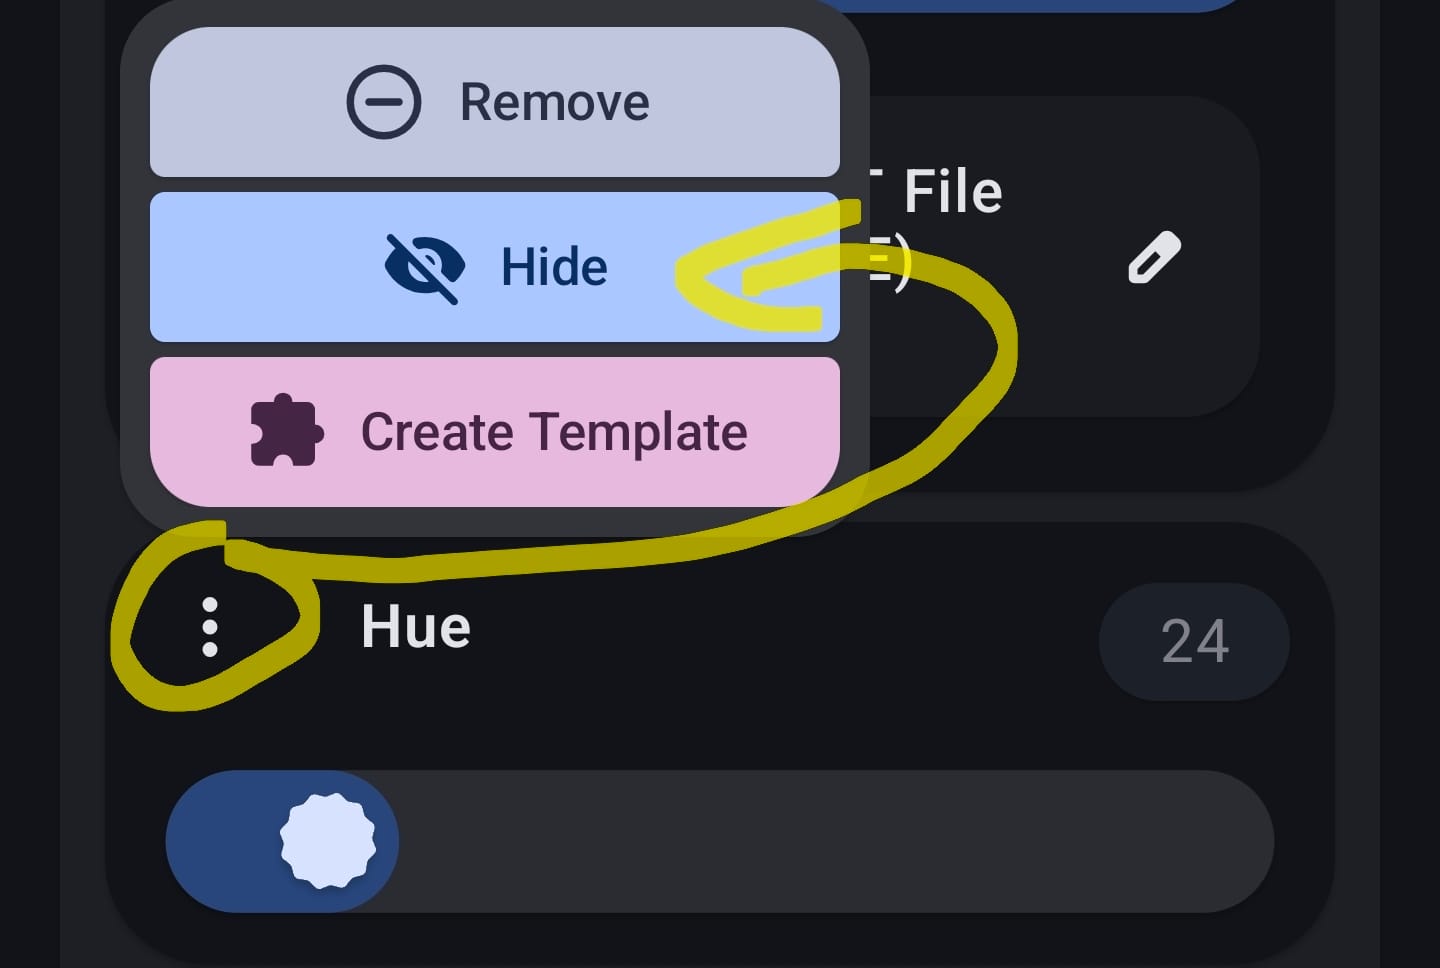
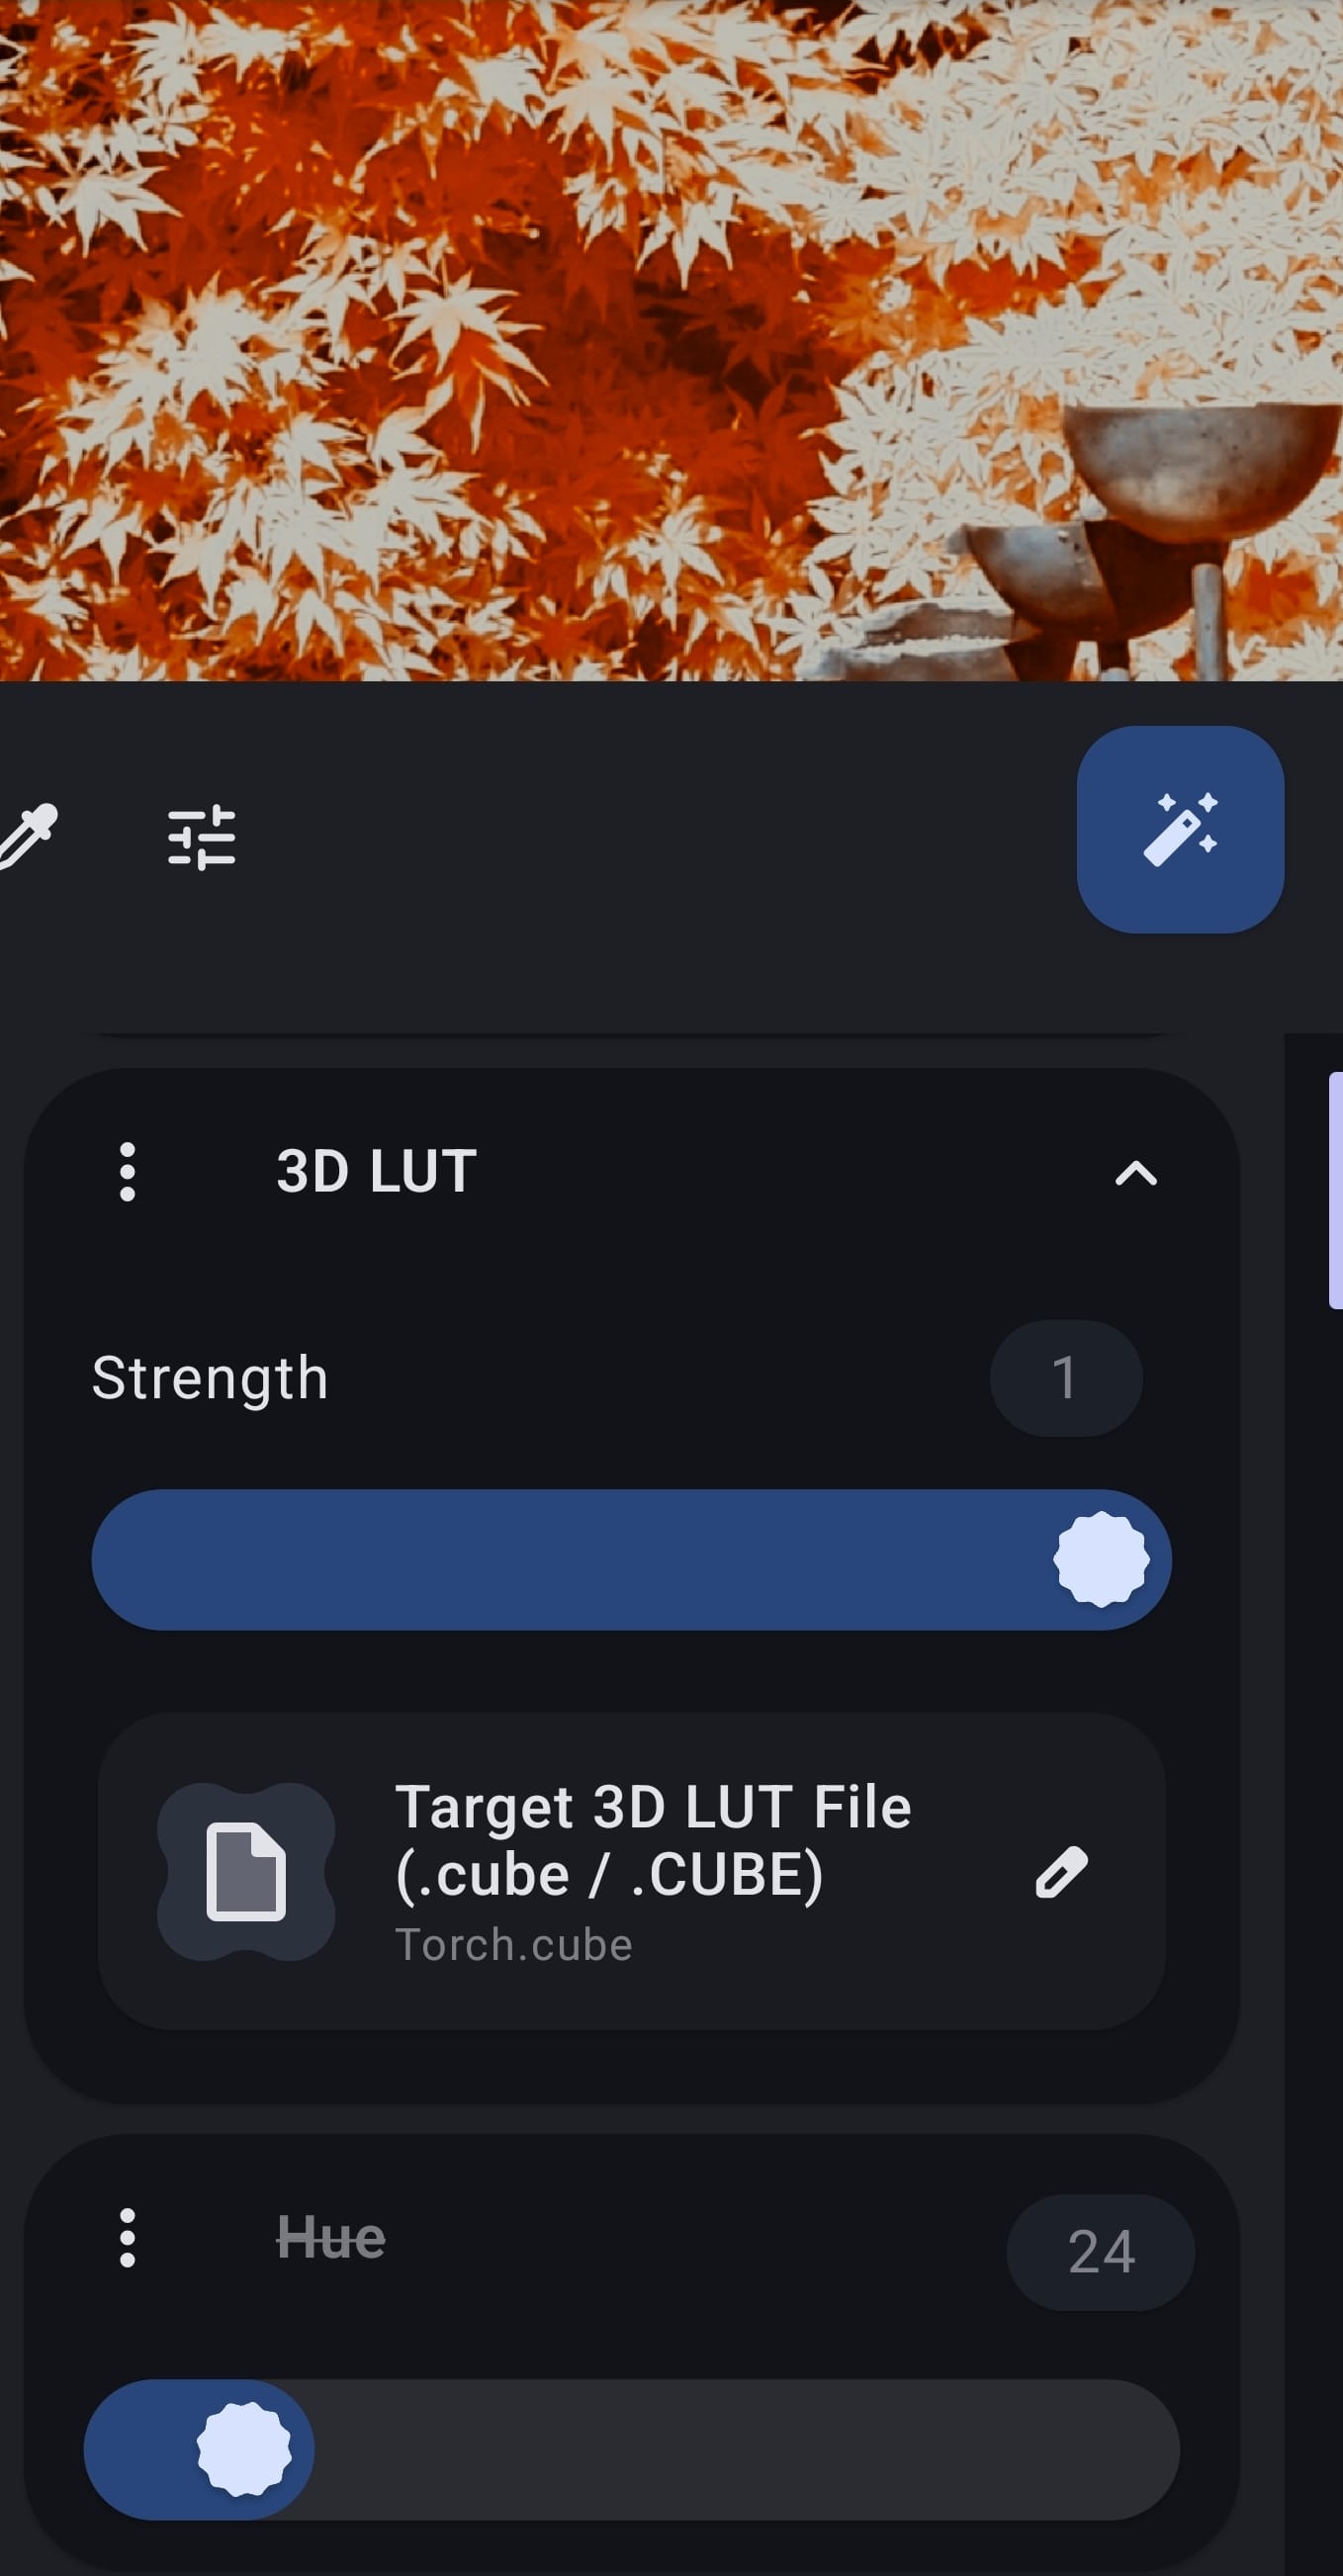
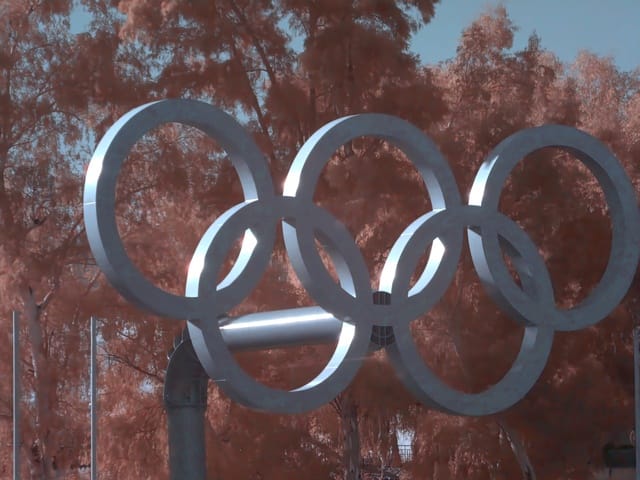
You'll see something like this image. Pick the single edit option (there are many many other options to play with!)That icon opens the filters section, which is what we mostly need. Feel free to play with the others, maybe later...Scroll the top tabs until you get to "LUT", then choose the 3D LUT item (no need to download the library, but those can be fun for other photos)After you've chosen the 3D LUT filter you'll need to pick which one you want to use. Tap this section to open the file selector to pick one.This is the sort of thing that you'll see. Scroll to the end of this page to get a copy of some useful .cubesIf you tap this button then the bottom area (the filters) will shrink so that you can see the photo. Or you can use 2 fingers to zoom/drag the photo.That looks like a good starting place, but there are other filters & we can use those on the same photo, at the same time. Use the search option to find what you are looking for.Lets start by increasing the saturation of the yellow leaves in the photoNot too much though!We could add a bit of contrast, & drop the exposure a little, by adding extra filters...The filters are applied in order. After you add them you can change the order by long pressing on the title of one of the filters & then long pressing on the = icon to drag the filters up/down the filter chain. Here I've moved everything to happen ahead of the 3D LUT being applied.Of course, we don't have to settle for the colour choices that come from the 3D LUT...That's a change from the original IR filter photo (in normal light the leaves are red & the fountain is grey)What if you want to see what things look like without a filter applied. Press the 3 dot menu & choose to hide the filterYou can see that the hue filter is crossed through, & the colours in the image are different without it (unsurprisingly).
ImageToolbox has a "million" options for changing photos (although some a bit complicated & you might want to use Snapseed to make those changes more easily. There are other posts on this website about that)